Port forwarding to allow access to a server using SonicOSX 7.0
Description
This article describes how to access an internal device or server behind the SonicWall firewall remotely from outside the network. This process is also known as opening ports, PATing, NAT or Port Forwarding.
For this process the device can be any of the following:
- Web server
- FTP server
- Email server
- Terminal server
- DVR (Digital Video Recorder)
- PBX
- SIP server
- IP camera
- Printer
- Application server
- Any custom server roles
- Game consoles
Resolution
SonicWall has an implicit deny rule which blocks all traffic. This is to protect internal devices from malicious access, however, it is often necessary to open up certain parts of a network, such as servers, from the outside world.
To accomplish this on the new policy engine we need a NAT Policy along with a Security Policy allowing the necessary traffic. The match criteria in the Security Policy can match the destination IP and service along with the source/destination zones to allow the traffic.
 EXAMPLE: Let us assume that we are trying to allow access using TCP 3390 (custom RDP port) to the internal device on LAN with IP: 172.27.78.81 which can be accessed using the X1 IP from outside.
To create the NAT Policy
- Navigate to Policy | Rules and Policies | NAT Policy and click Add at the bottom of the page.
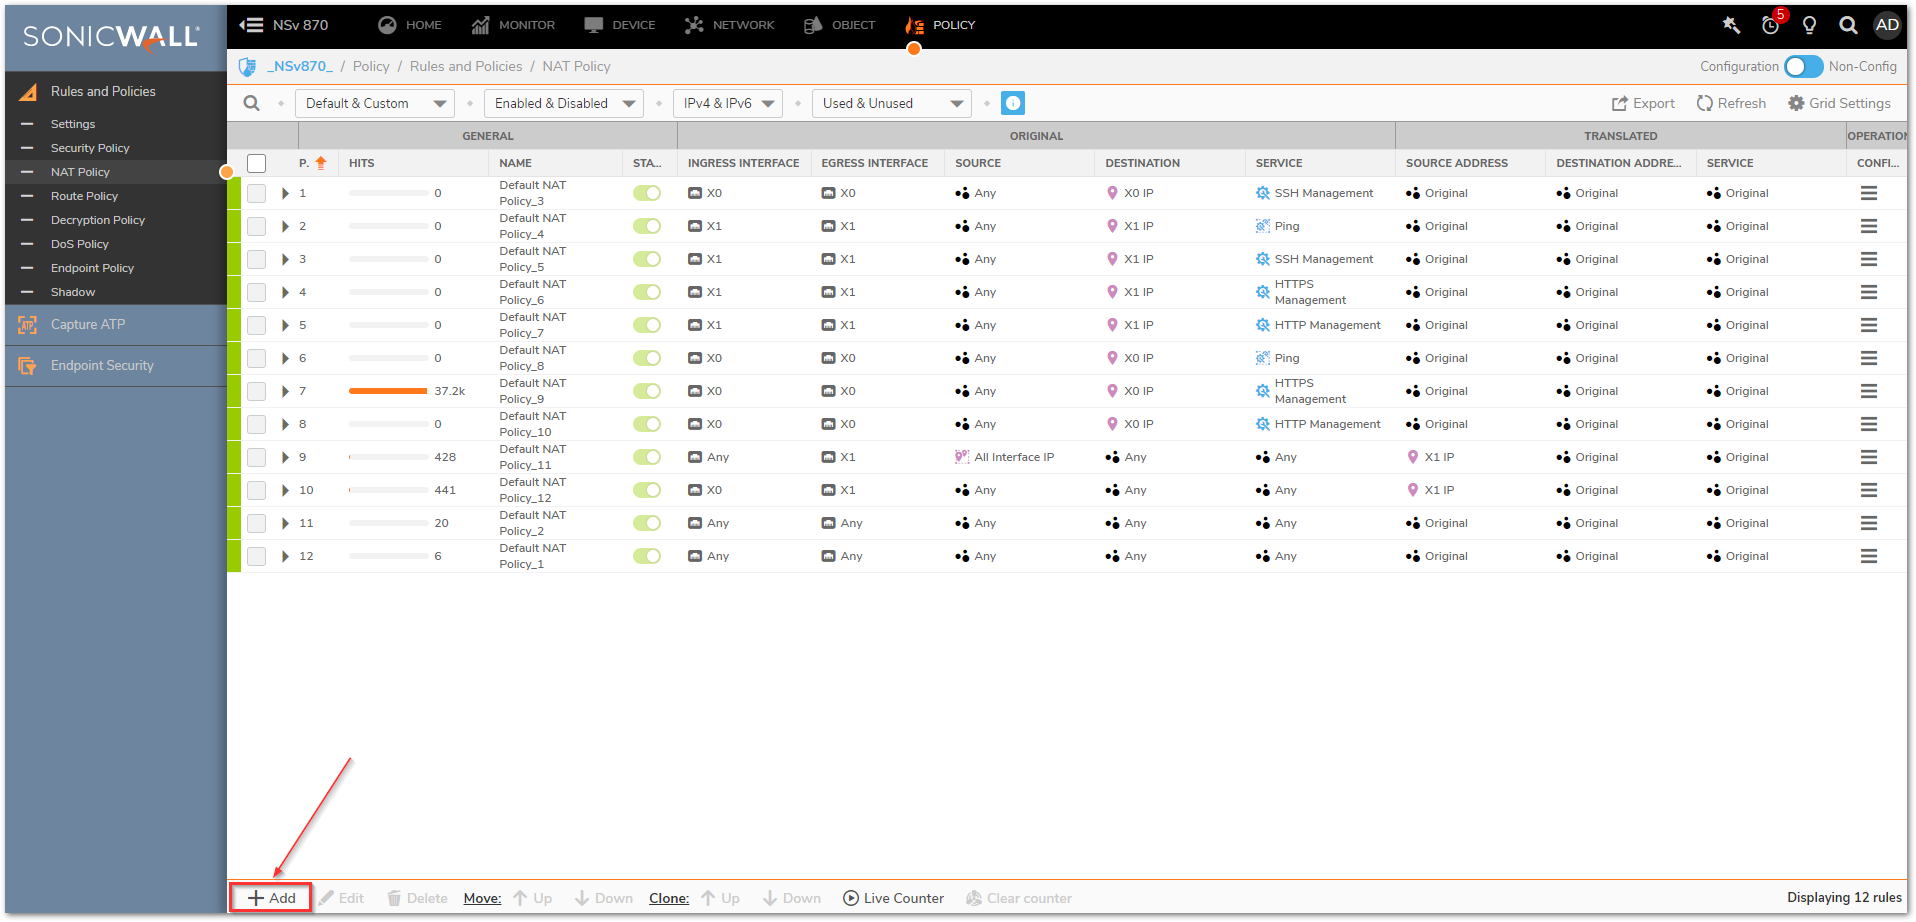
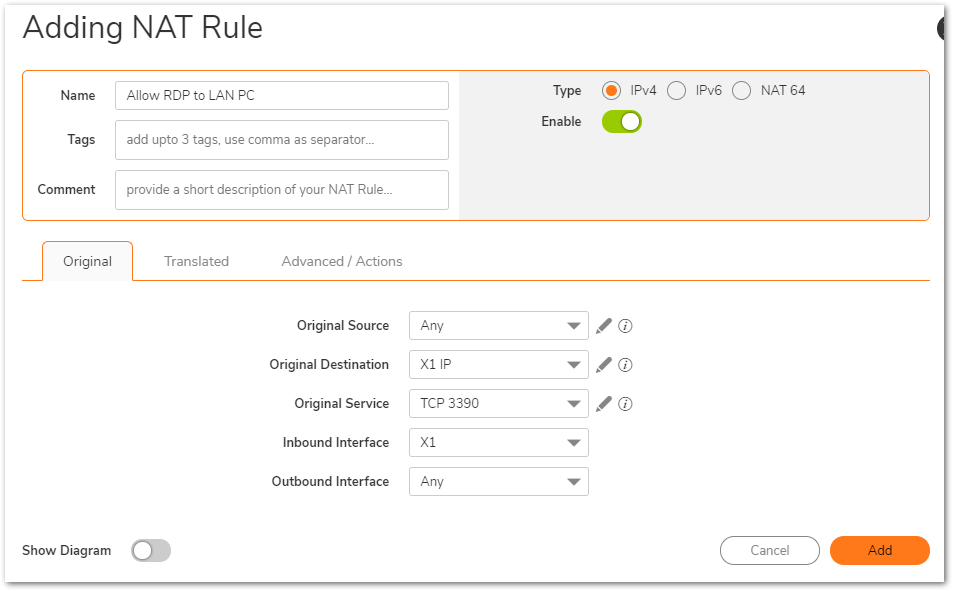
- Give it a relevant name and enter the following in the Original tab.
Original Source: Any
Original Destination: X1 IP
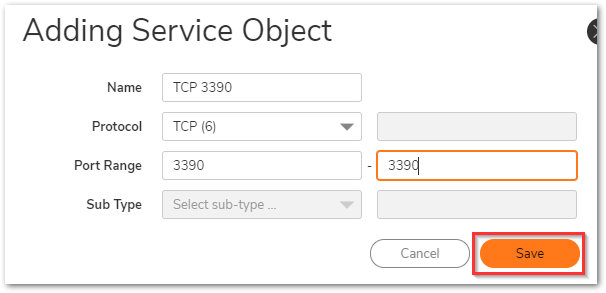
Original Service: TCP 3390 (Click on the pencil icon next to it to add a new service object). Use protocol as TCP and port range as 3390 to 3390 and click Save.
Inbound Interface: X1
Outbound Interface: Any
 NOTE: If you would like to use a usable IP from X1, you can add an address object for that IP address and use that the Original Destination. For custom services, service objects/groups can be created and used in Original Service field.
- Use the following options in the Translated tab.
Translated Source: Original
Translated Destination: LAN PC (Click on the pencil icon next to it to add a new address object). A host type address object on zone LAN with the IP address 172.27.78.81 should be added.

Translated Service: Original
All options on Advanced/Actions can be left on default. Click Add.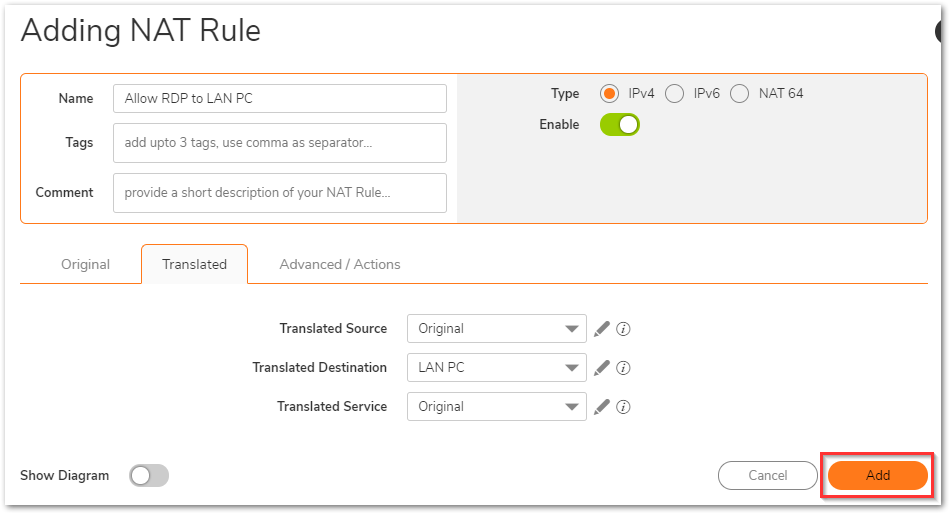
To create the Security Policy
- Navigate to Policy | Rules and Policies | Security policy tab and click on Top at the bottom of the screen. This adds the new Policy at the top of the list. You might need to adjust its priority based on other rules you have.

Assign a relevant name. In the Source/Destination tab, select the following.
Source Zone/Interface: WAN
Source Address: Any
Source Port/Services: Any
Destination Zone/Interface: LAN
Destination Address: X1 IP
Destination Port/Services: TCP 3390
The other fields can be left on default.
 NOTE: If you would like to use a usable IP from X1, you can select that address object as Destination Address. Also, for custom services, Destination Port/Services should be selected with the service object/group for the required service. If the zone on which the internal device is present is not LAN, the same needs to be used as the destination zone/Interface.
- All fields on App/URL/Custom Match tab can be left on defaults.
 TIP: If you are trying to open a well-known port like HTTP, the Security Policy can also be created using the application signatures rather than service.
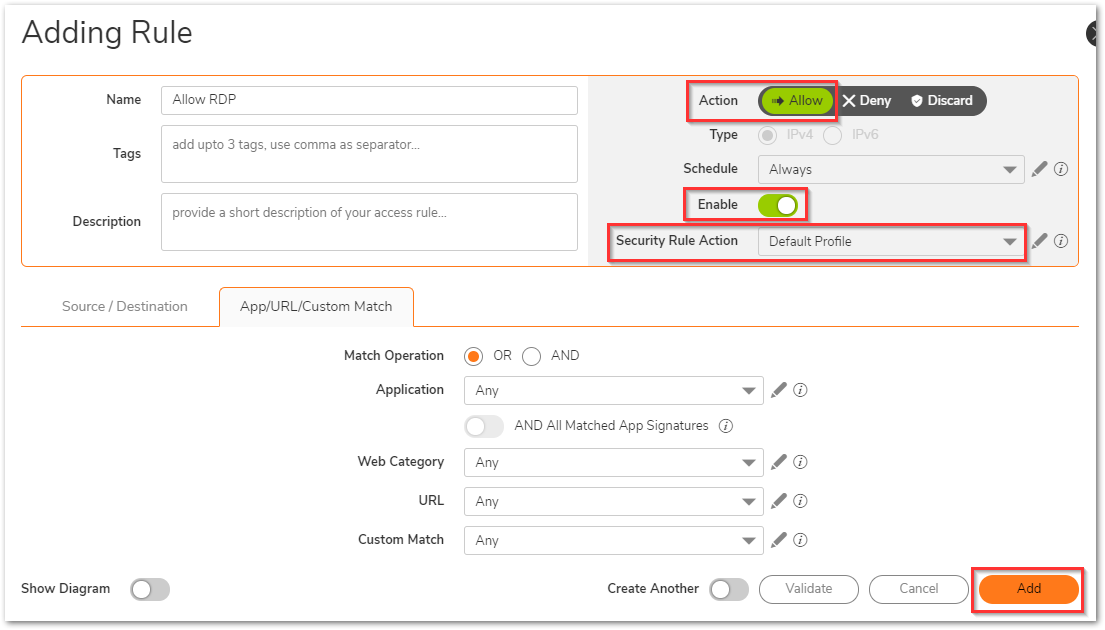
 - Select the Default Profile as the Security Rule Action. Make sure that the Action is set to Allow and the policy is in Enable state. Click Add.
