How can I save Username and Password in Global VPN client?
Description
This article shows how to save a user name and password for GVC clients.
Resolution for SonicOS 7.X
This release includes significant user interface changes and many new features that are different from the SonicOS 6.5 and earlier firmware. The below resolution is for customers using SonicOS 7.X firmware.
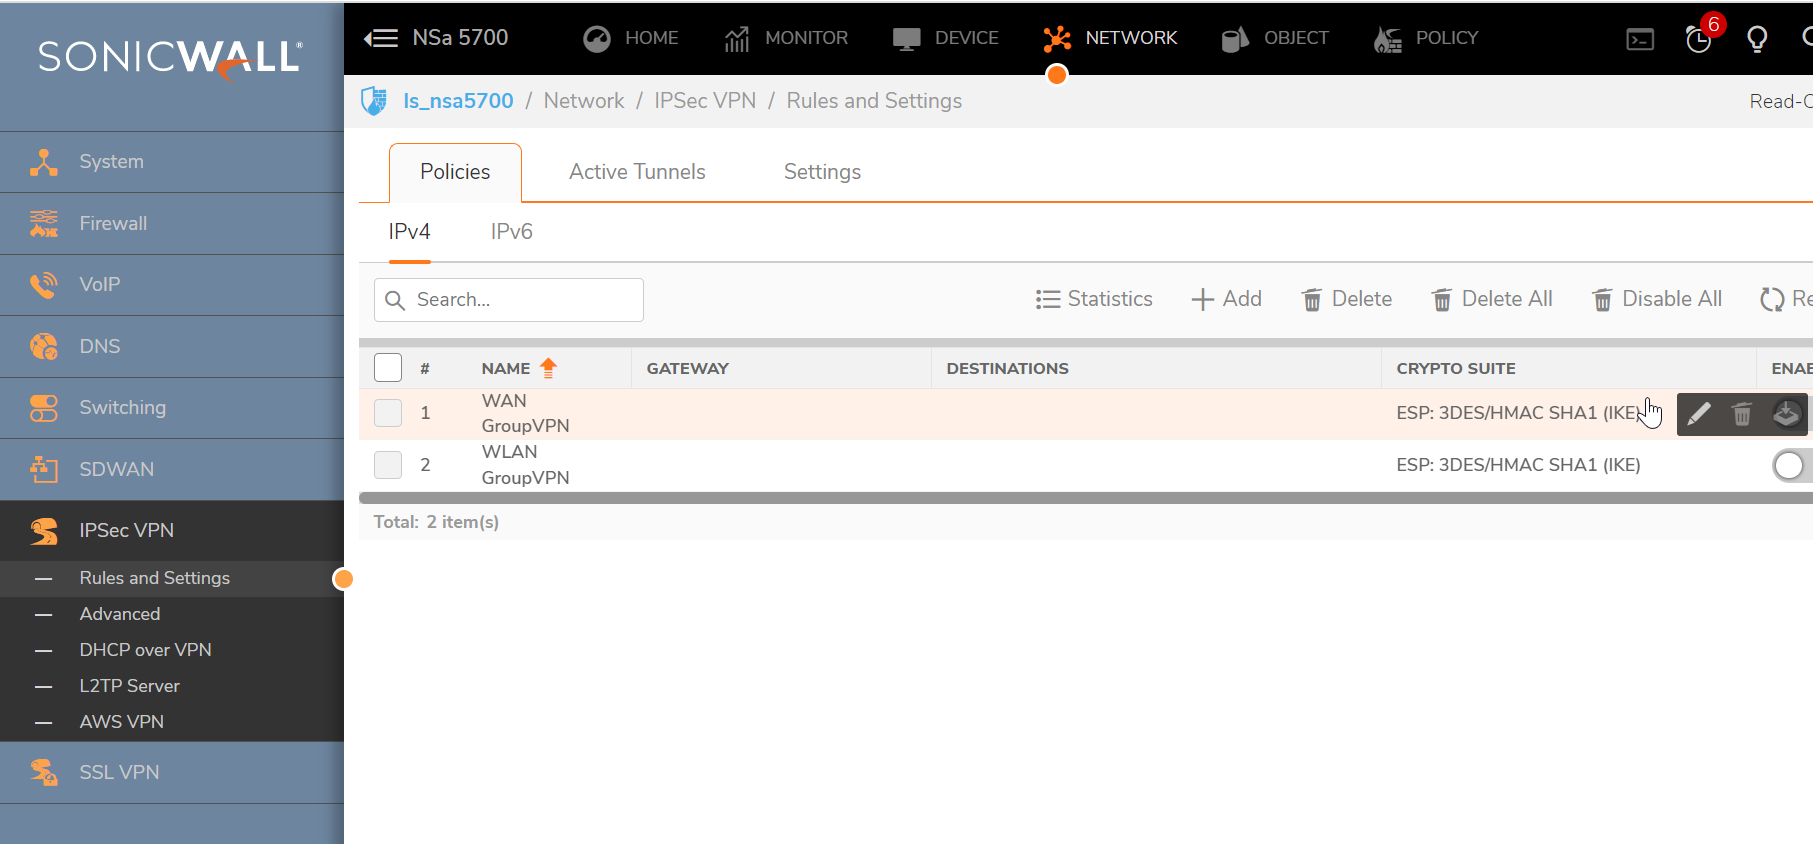
- Navigate to Network | IPSec VPN | Rules and Settings and click Configure Button of WAN GroupVPN.
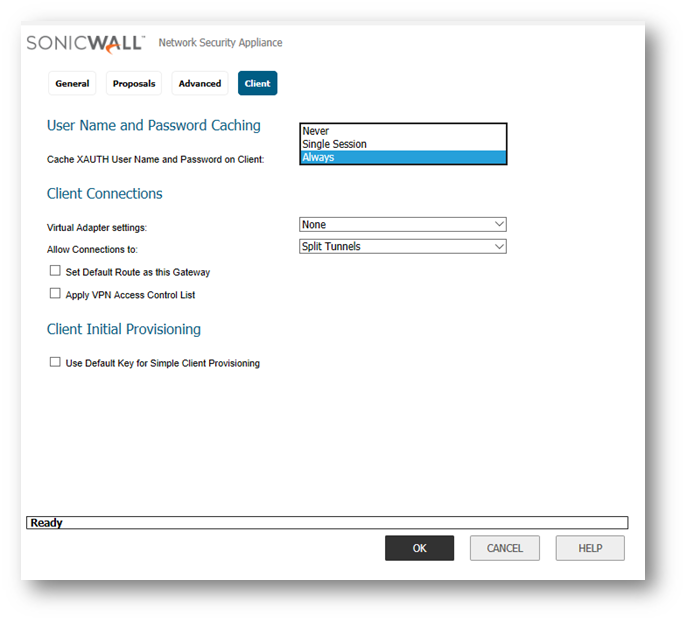
- New Window opens , Go to Client Tab. Select Always under 'Cache XAUTH User Name and Password on Client' in the drop down list as below.

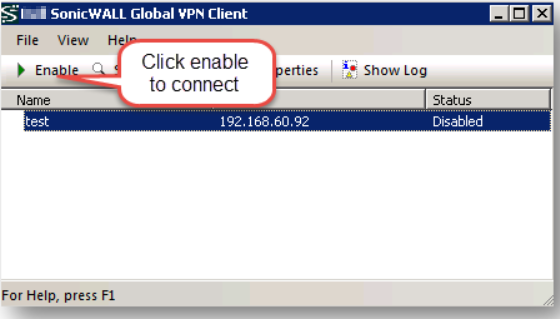
- Open SonicWall Global VPN Client and create a new connection profile. Click Enable to connect.

- Enter the Username and Password to connect.

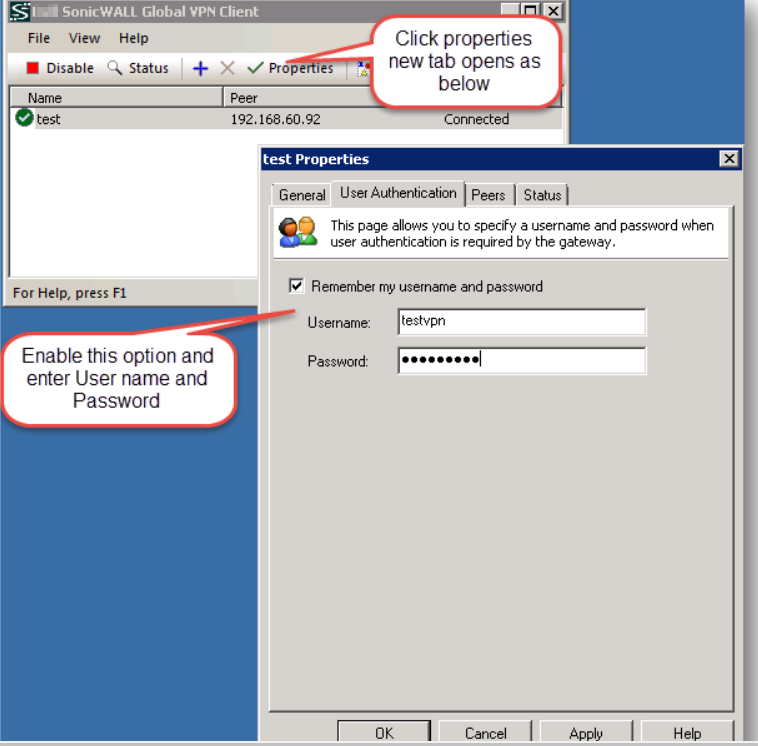
- Once it is connected , select the policy and click on Properties button, new window opens. Select User Authentication and enable Remember my username and password check box, enter Username and Password, and click Apply.
- Now when you are trying to connect again it will automatically connect without prompting for Username and Password.

Resolution for SonicOS 6.5
This release includes significant user interface changes and many new features that are different from the SonicOS 6.2 and earlier firmware. The below resolution is for customers using SonicOS 6.5 firmware.
- Navigate to Manage | VPN | Base Settings and click Configure Button of WAN GroupVPN.

- New Window opens , Go to Client Tab. Select Always under 'Cache XAUTH User Name and Password on Client' in the drop down list as below.
- Open SonicWall Global VPN Client and create a new connection profile. Click Enable to connect.
- Enter the Username and Password to connect.
- Once it is connected , select the policy and click on Properties button, new window opens. Select User Authentication and enable Remember my username and password check box, enter Username and Password, and click Apply..
- Now when you are trying to connect again it will automatically connect without prompting for Username and Password.
Resolution for SonicOS 6.2 and Below
The below resolution is for customers using SonicOS 6.2 and earlier firmware. For firewalls that are generation 6 and newer we suggest to upgrade to the latest general release of SonicOS 6.5 firmware.
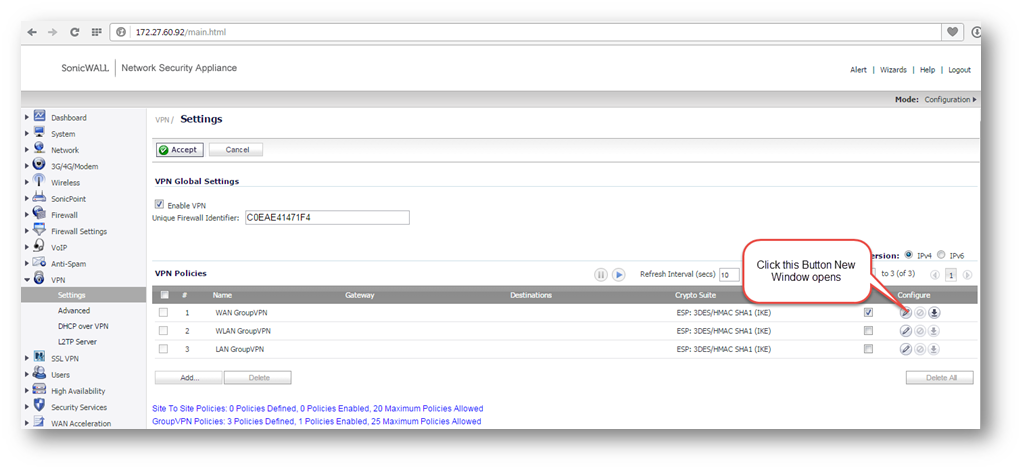
- Navigate to VPN | Settings and click Configure Button of WAN GroupVPN .
- New Window opens , Go to Client Tab. Select Always Under Cache XAUTH User Name and Password on Client in the drop down list as below.

- Open SonicWall Global VPN Client and create a new connection profile. Click Enable.
- Enter the Username and Password to connect.

- Once it is connected , select the policy and click on Properties button, new window opens. Select User Authentication and enable Remember my username and password check box, enter Username and Password, and click Apply..

- Now when you are trying to connect again it will automatically connect without prompting for Username and Password.

Related Articles
not finding your answers?