How can I configure WAN GroupVPN on SonicWall to connect using Global VPN client using wizard?
Description
SonicWall has the functionality to allow remote users to connect to the network behind SonicWall using global VPN client software using IPSEC VPN protocol.
This article focuses on the configuration of WAN Group VPN settings on the SonicWall appliance so that a remote computer can access the corporate network behind the SonicWall using the Public IP 1.1.1.50.
Resolution
Resolution for SonicOS 7.X
This release includes significant user interface changes and many new features that are different from the SonicOS 6.5 and earlier firmware. The below resolution is for customers using SonicOS 7.X firmware.
Configure WAN group VPN on the SonicWall appliance
- Log in to the SonicWall management GUI.
- Click Wizard Icon.

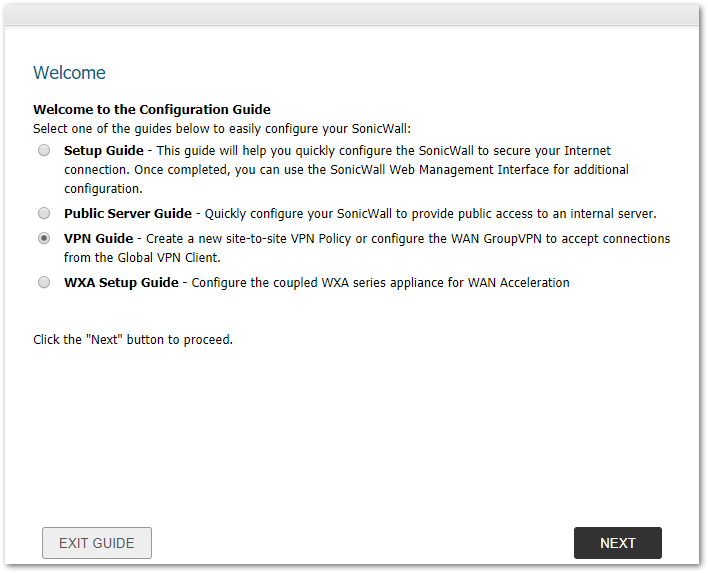
- Select VPN Guide and click Next.

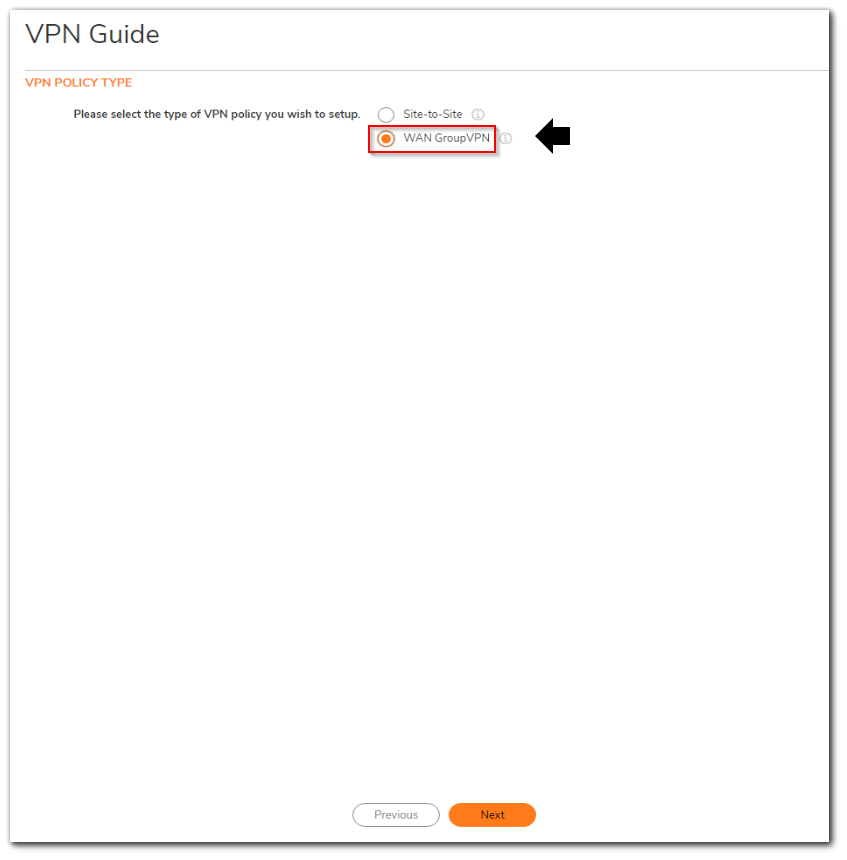
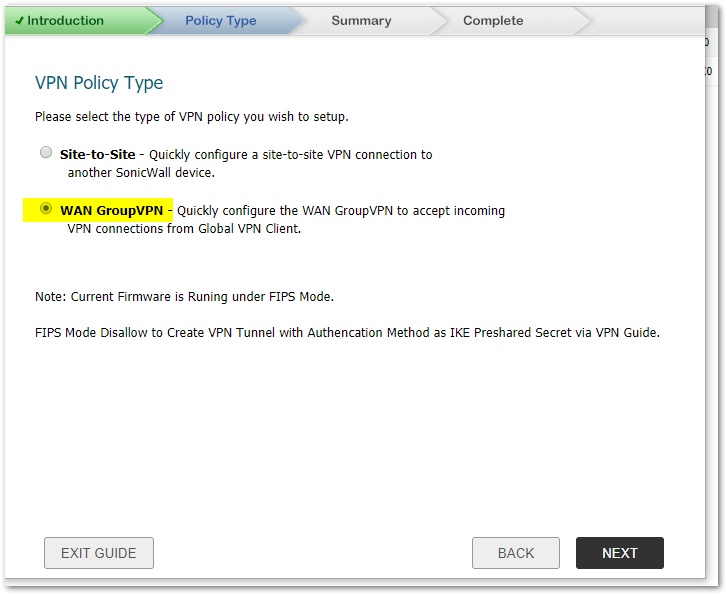
- Select WAN Group VPN and click Next.
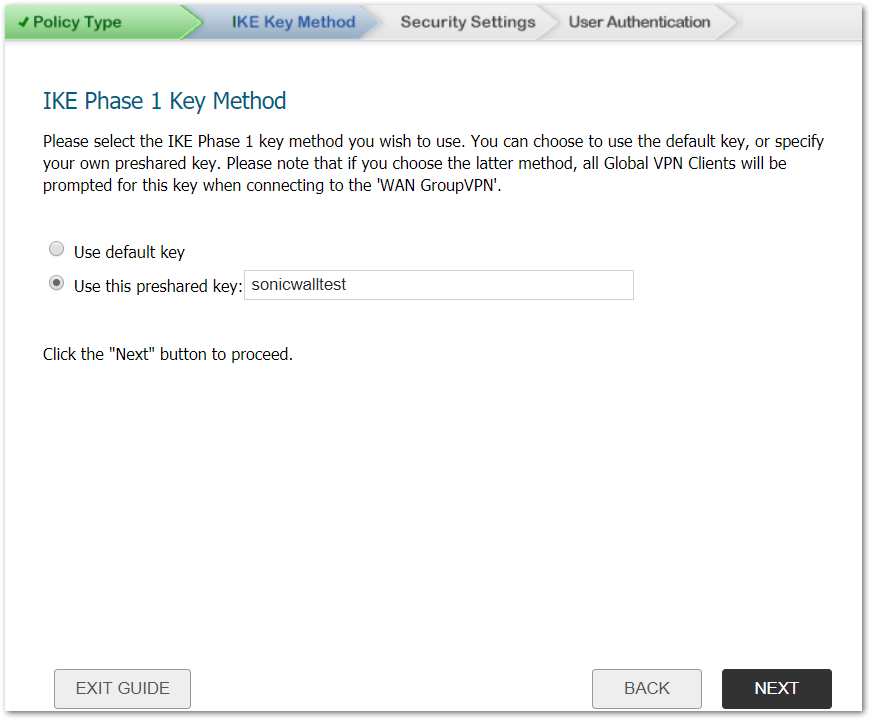
- Select Use this pre-shared key, click Next.

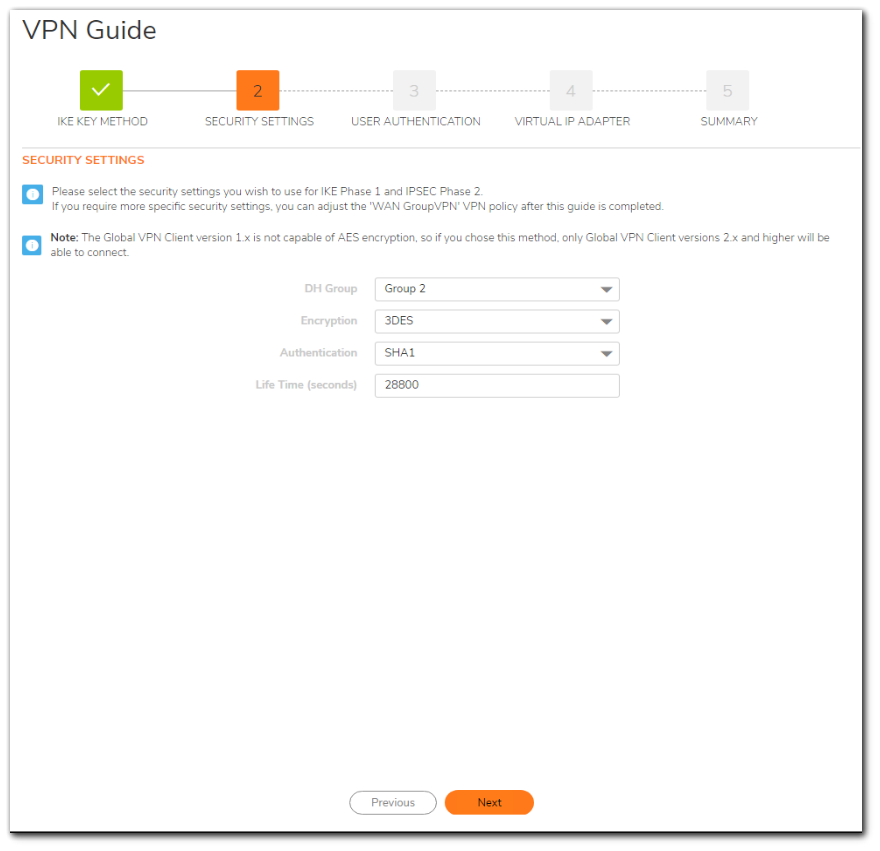
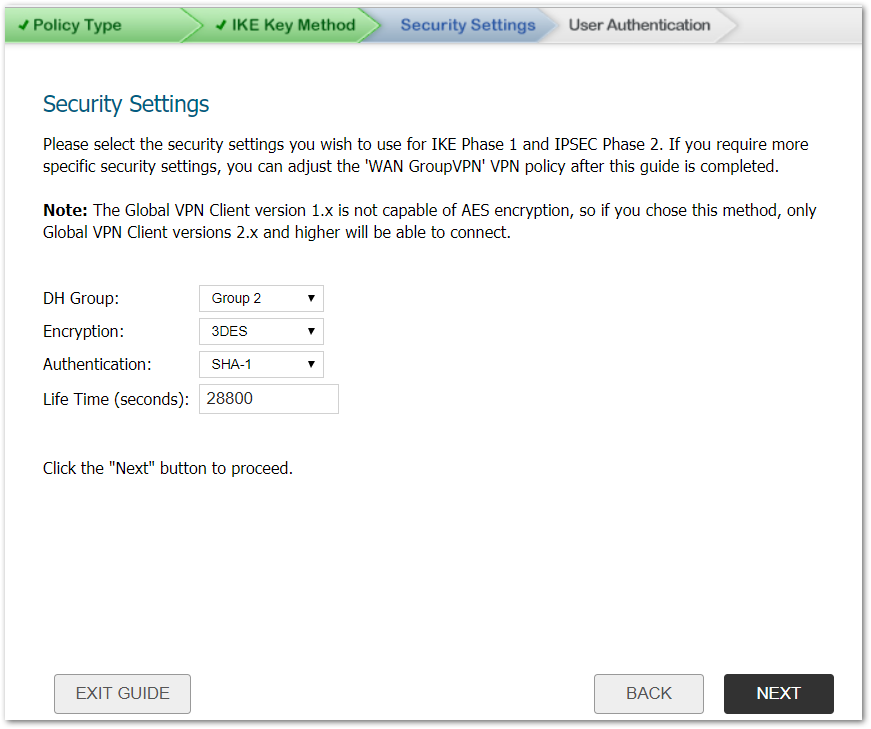
- Select the options for the security settings and click Next.
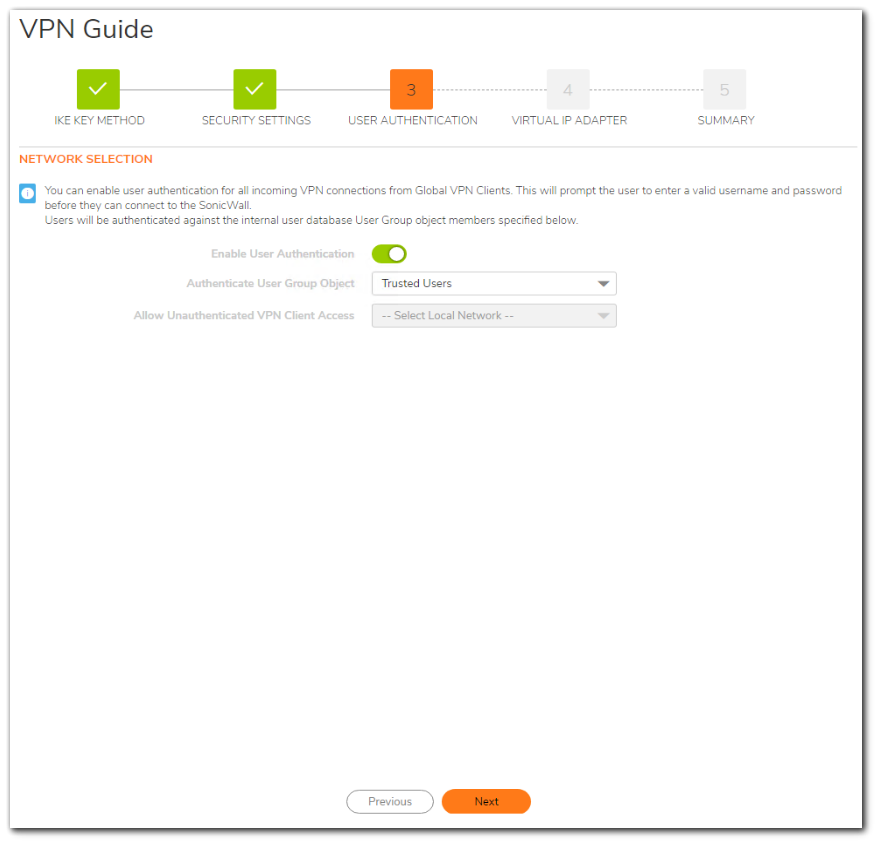
- Select Enable User Authentication and select Trusted Users from the drop-down list.
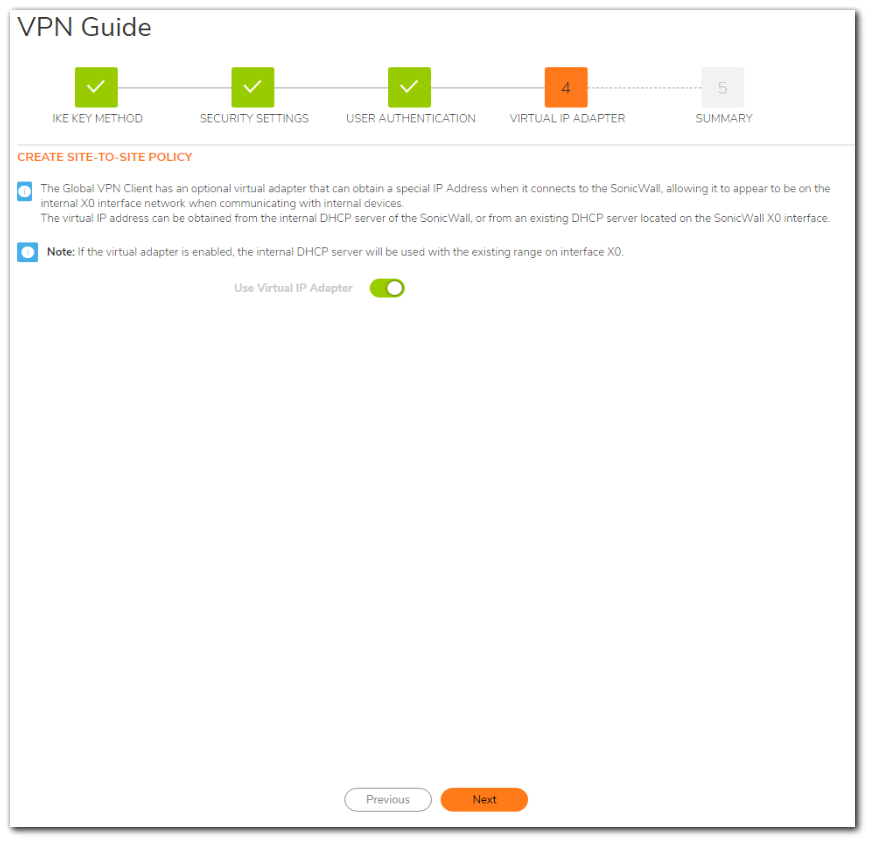
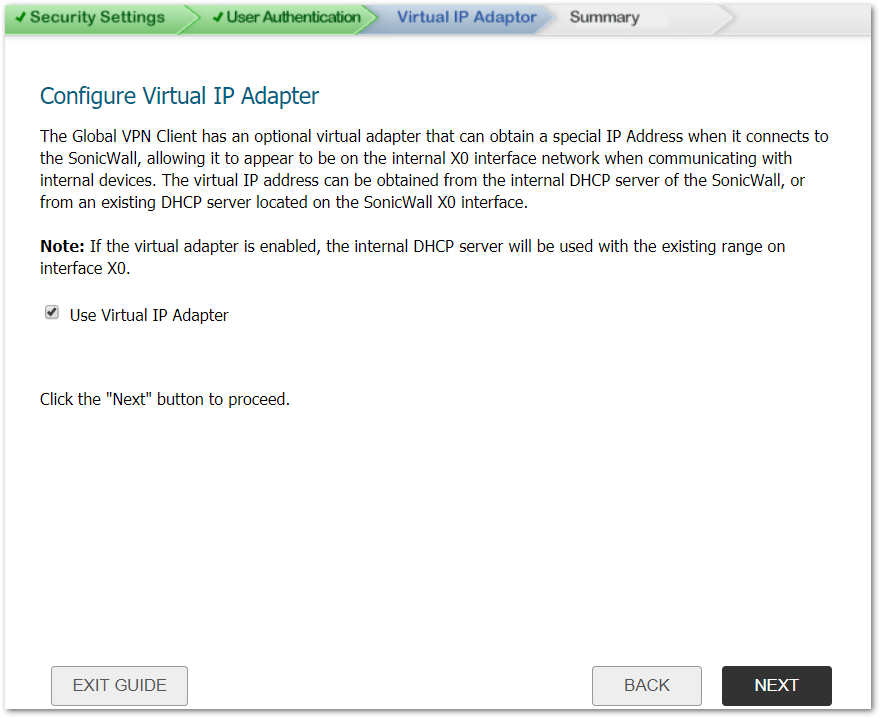
- Select Use Virtual IP Adapter and click Next.
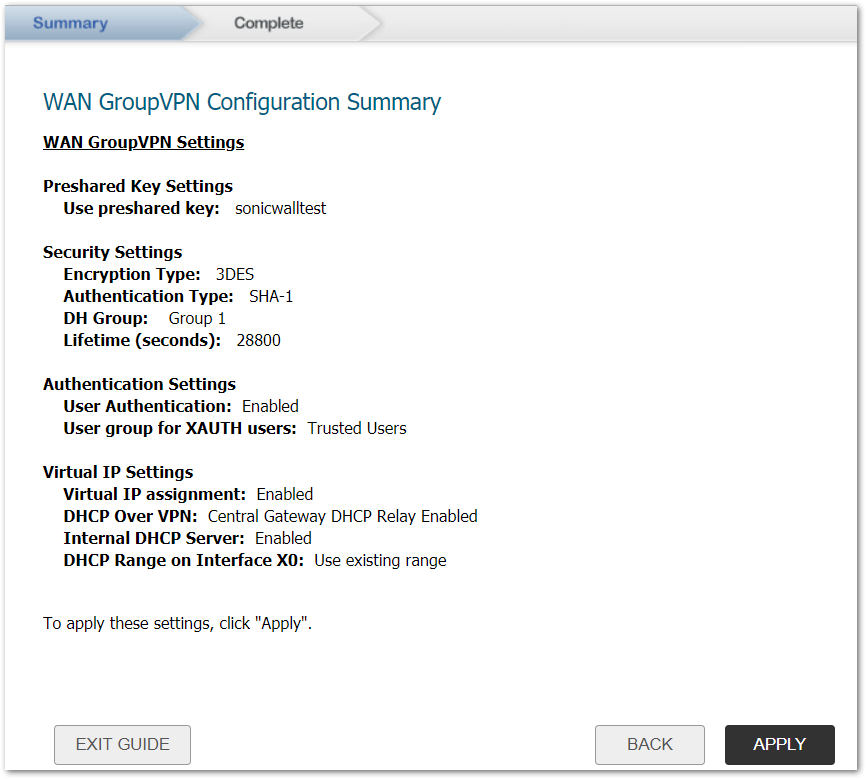
- Click Apply.
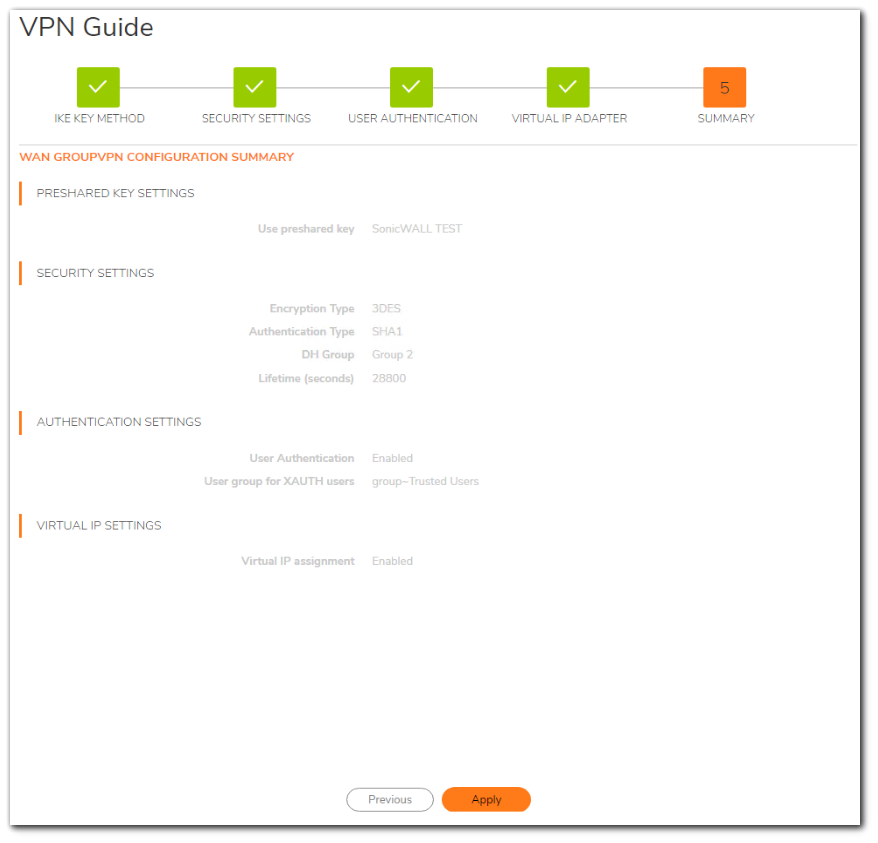
- Click Apply to update the configuration.
Configure DHCP over VPN
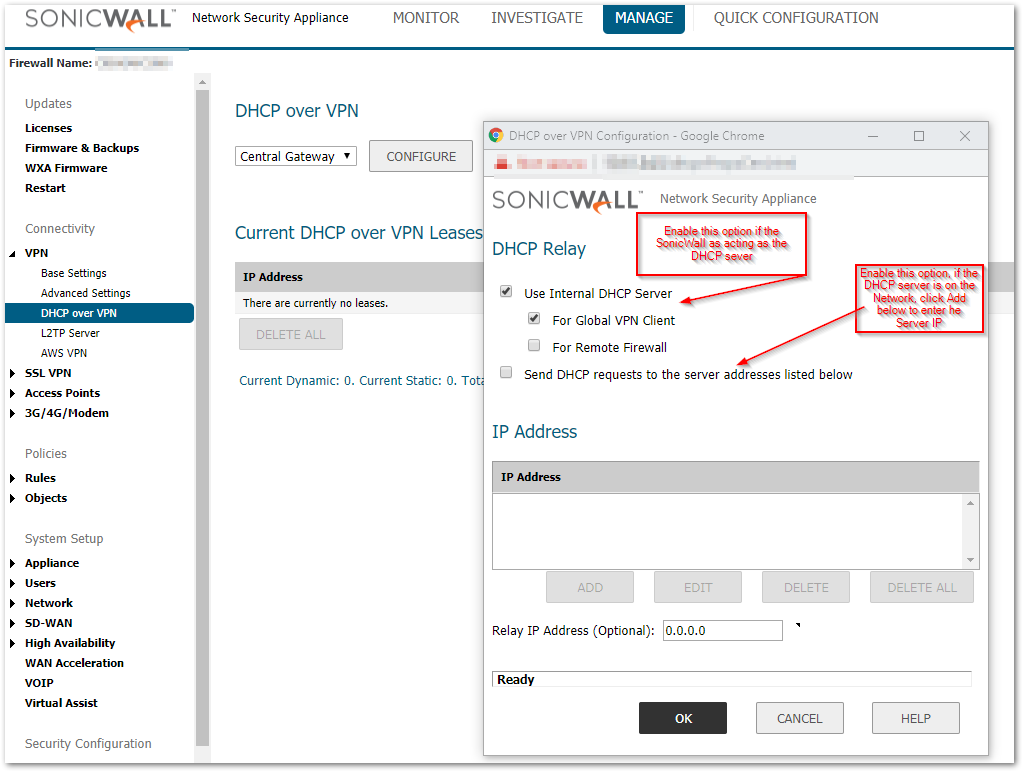
- Navigate to MANAGE| VPN |DHCP over VPN, and select Central Gateway from the drop-down.
- Click Configure. The DHCP over VPN Configuration window is displayed.
- Select Use Internal DHCP Server if SonicWall is the DHCP server. Check the For Global VPN Client checkbox to use the DHCP Server for Global VPN clients.
The SonicWall security appliance now directs DHCP requests to the specified servers.

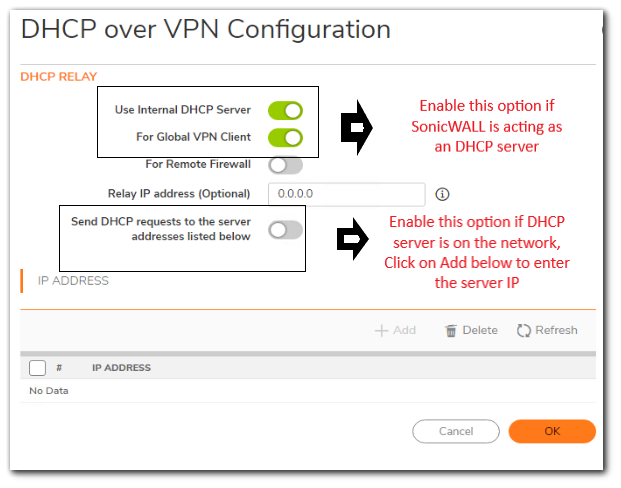
- If you want to send DHCP requests to specific servers, select Send DHCP requests to the server addresses listed below.
Click Add. - Type the IP addresses of DHCP servers in the IP Address field,
Click OK.
Configure User Accounts
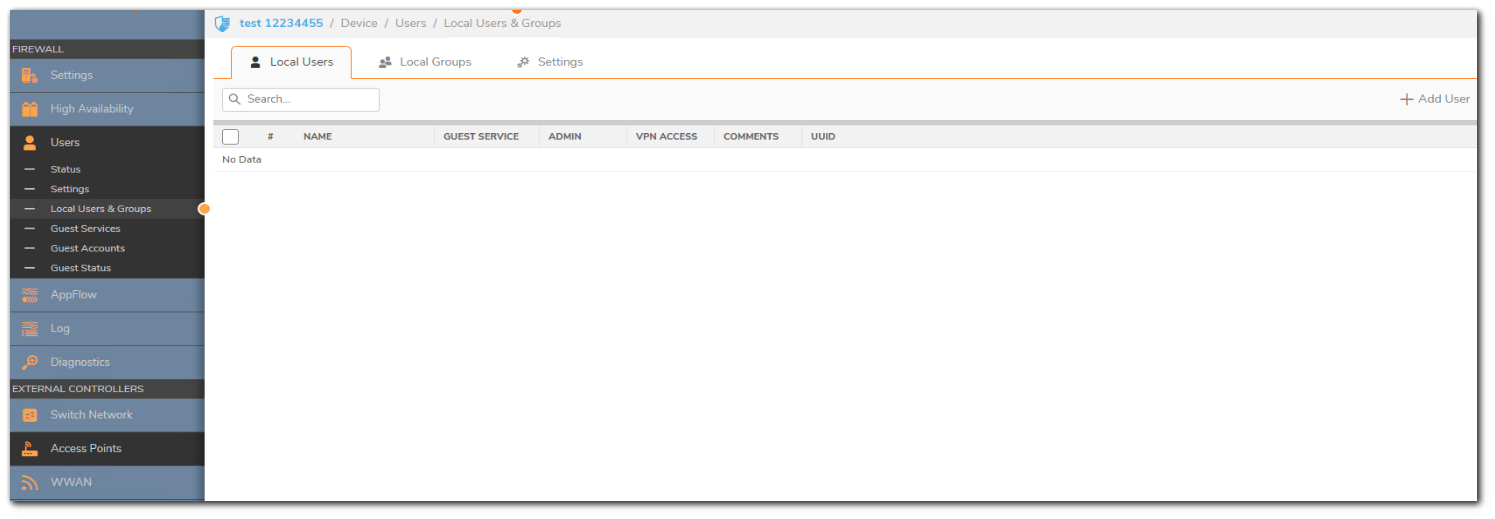
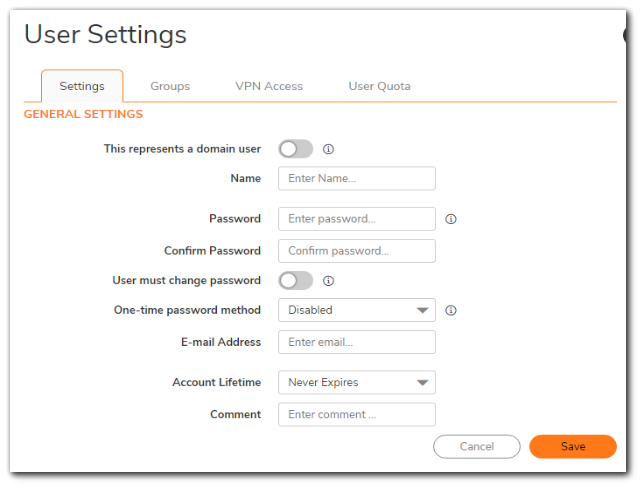
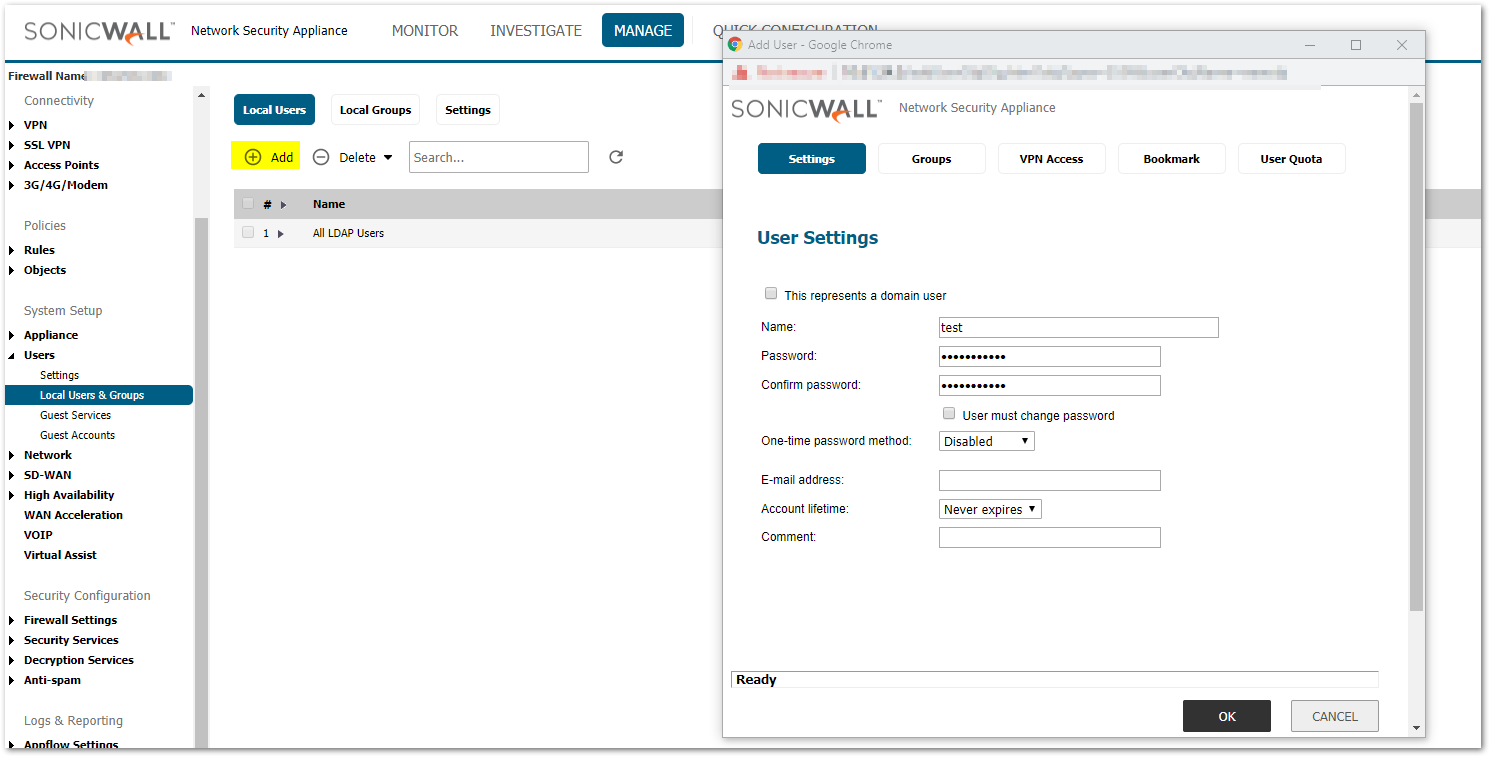
- Navigate to Device| Users | Local Users & Groups, select Local Users, and click Add.
- Under the settings tab give the desired name and password.
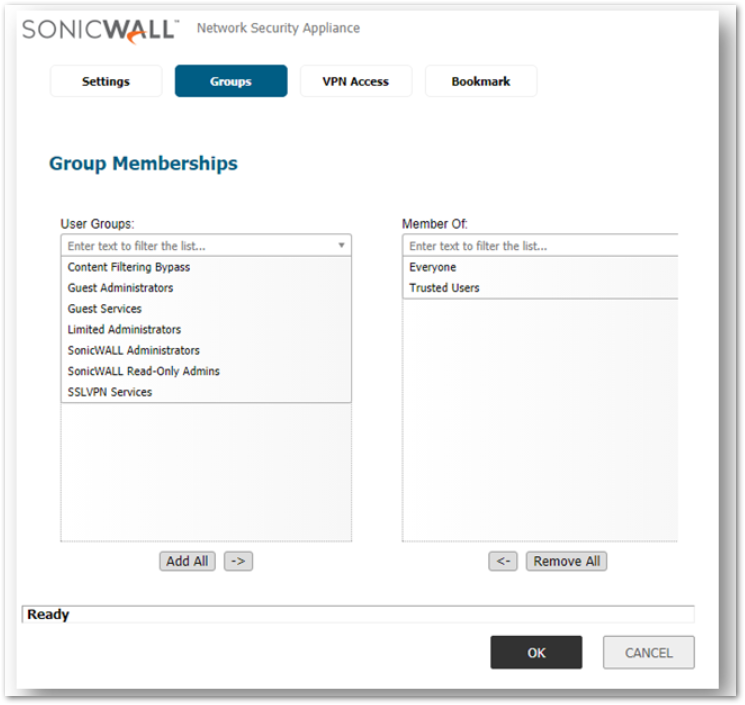
- Navigate to the Groups tab, the user should be a member of trusted users.
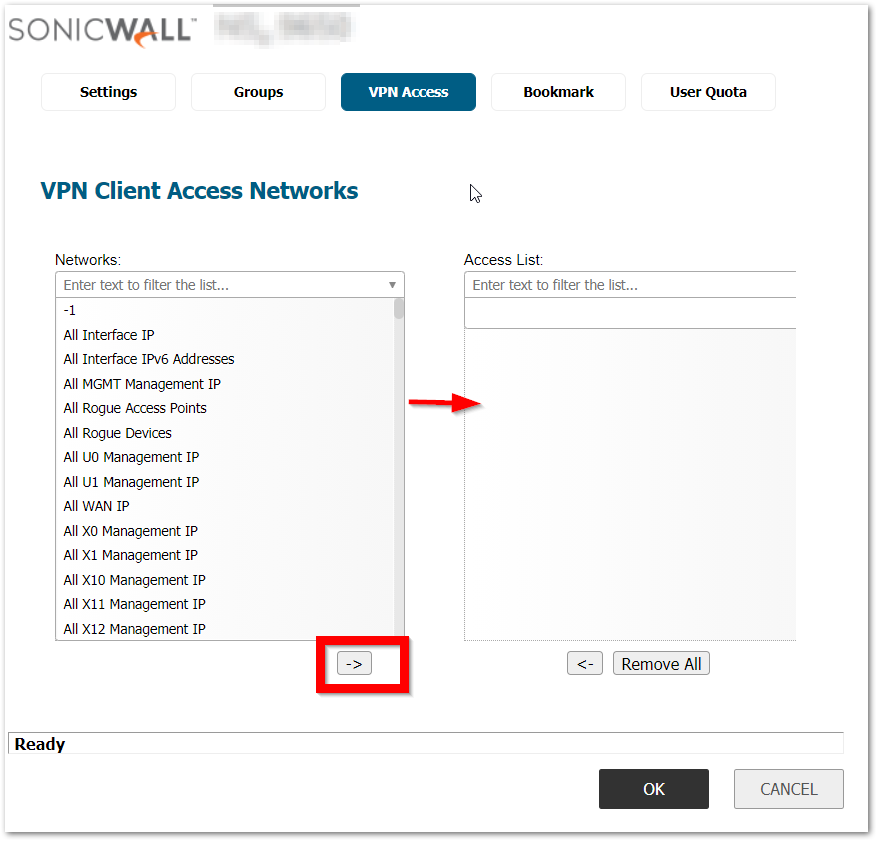
- Navigate to the VPN Access tab and select the subnet that the user needs to access.
 NOTE: If you want GVC users to access VPN networks, add them to the access List section.
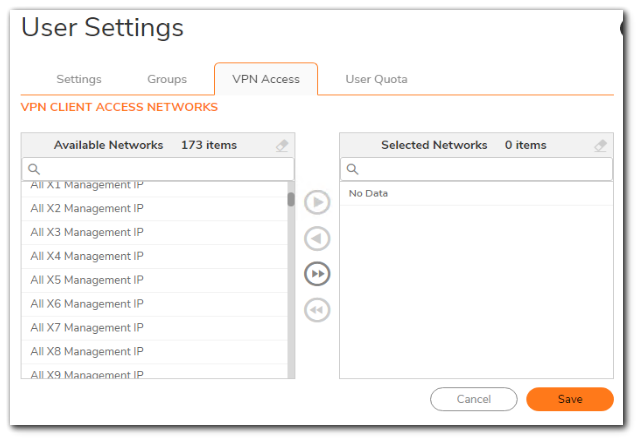
Resolution for SonicOS 6.5
This release includes significant user interface changes and many new features that are different from the SonicOS 6.2 and earlier firmware. The below resolution is for customers using SonicOS 6.5 firmware.
Configure WAN group VPN on the SonicWall appliance
- log in to the SonicWall management GUI.
- Click QUICK CONFIGURATION.

- Select VPN Guide and click Next.
- Select WAN Group VPN and click Next.
- Select Use this Preshared key, click Next.
- Select the options for the security settings and click Next.
- Select Enable User Authentication and select Trusted Users from the drop down list.

- Select Use Virtual IP Adapter and click Next.
- Click Apply .
- Click Close to update the configuration.
Configure DHCP over VPN
- Navigate to MANAGE| VPN |DHCP over VPN, and select Central Gateway from the drop-down.
- Click Configure. The DHCP over VPN Configuration window is displayed.
- Select Use Internal DHCP Server if SonicWall is the DHCP server. Check the For Global VPN Client checkbox to use the DHCP Server for Global VPN clients.
- If you want to send DHCP requests to specific servers, select Send DHCP requests to the server addresses listed below. Click Add. Type the IP addresses of DHCP servers in the IP Address Field. Click OK. The SonicWall security appliance now directs DHCP requests to the specific server.
Configure User Accounts
- Navigate to MANAGE | Users | Local Users & Groups, select Local Users, and click Add.
- Under the settings tab give the desired name and password.
- Navigate to the Groups Tab , the user should be a member of trusted users.
- Navigate to the VPN Access tab, and select the subnet that the user needs to access. NOTE: If you want GVC users to access VPN networks, add them to the Access List section.
- Click OK
How to Test: Using GVC software installed on the remote computer to connect to the corporate network.
- Install the latest GVC software version on the User's PC. NOTE: The latest GVC software version can be downloaded from the SonicWall VPN Clients page.
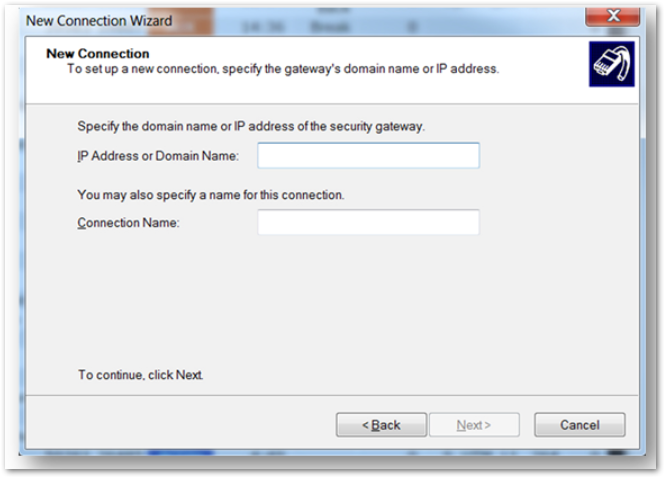
- Launch GVC, click New Connection.
 Input the WAN IP Address or Domain Name of the SonicWall that the User is VPN connecting to.
- Click on the new connection that is created and click Enable.
- When prompted, enter the Preshared Secret for the connection, as well as the Username and Password.
- After entering the Username and Password the adapter will try to acquire an IP Address and then change to Connected status.