CSE Getting Started: Create A Role
Description
Before you can begin accessing resources behind the Connector configured in Part Three, we must set up a role and a policy to supply to the Service Tunnel configuration. While we won't configure Service Tunnel until Part Six of the Getting Started Series, this is a critical step and will be the primary way to segment users.
Resolution
To begin these steps, please ensure you are logged into the SonicWall CSE Command Center.
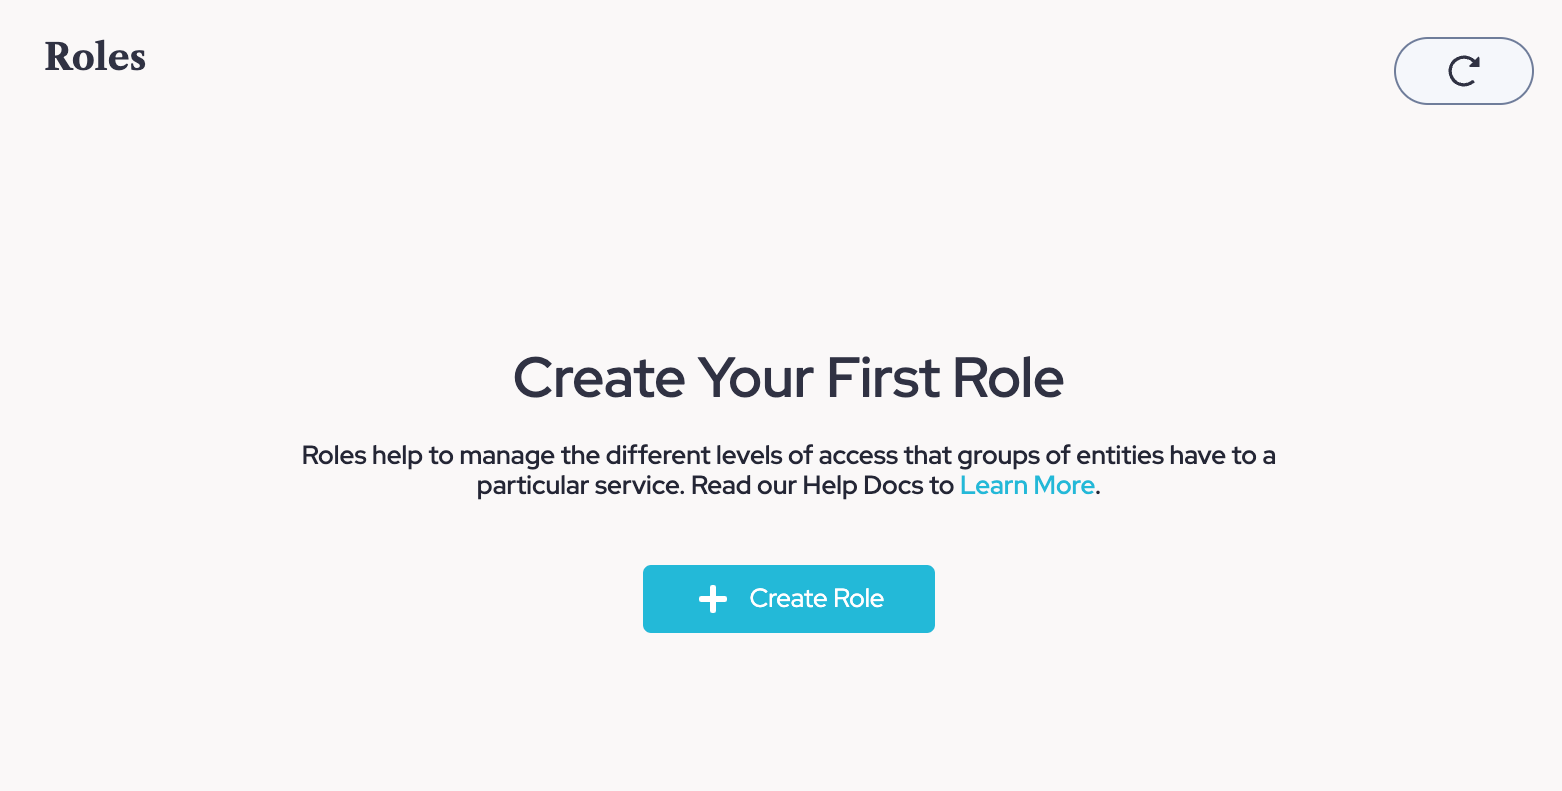
- Navigate to Directory|Roles, then select Create Role
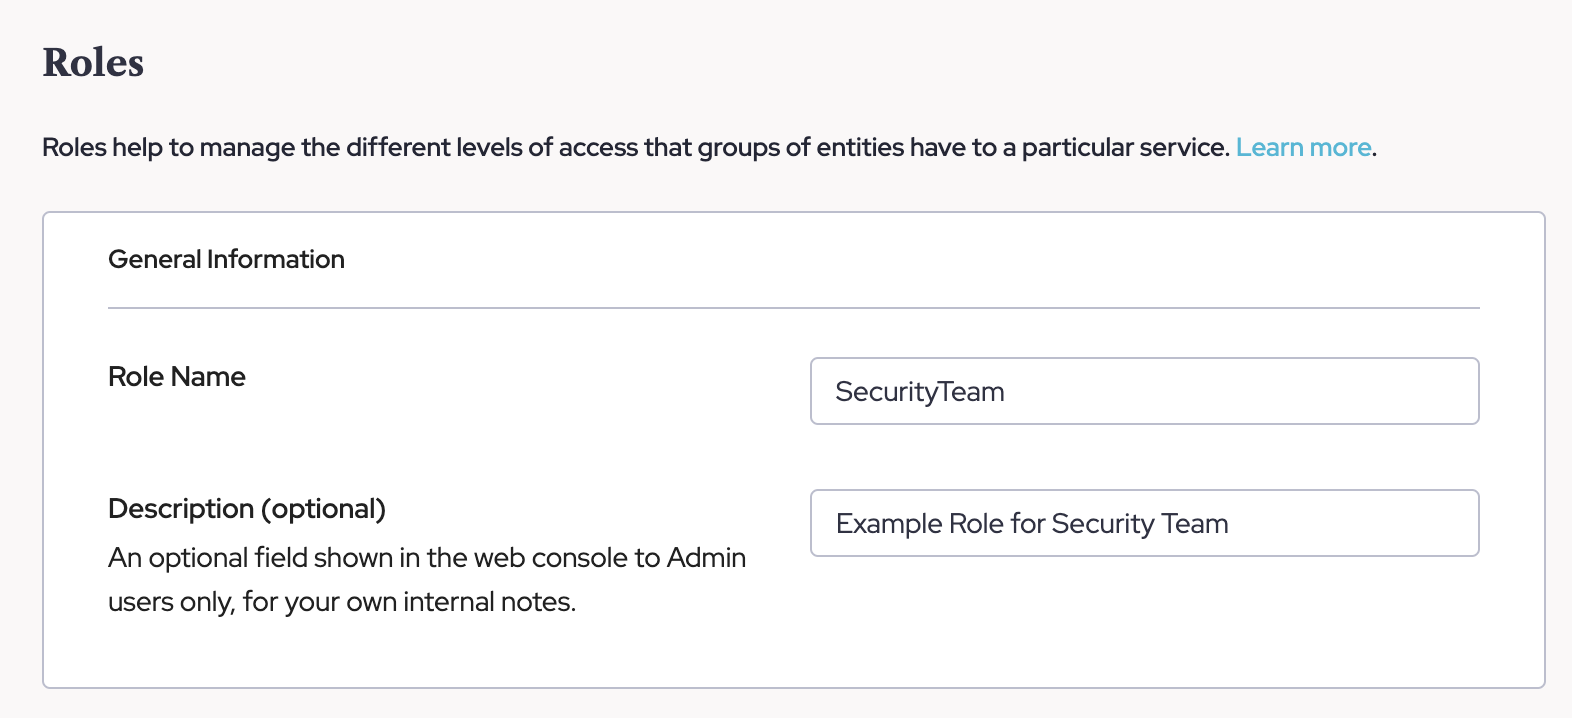
- Then give your new Role a name and a description to keep track of what this role represents.
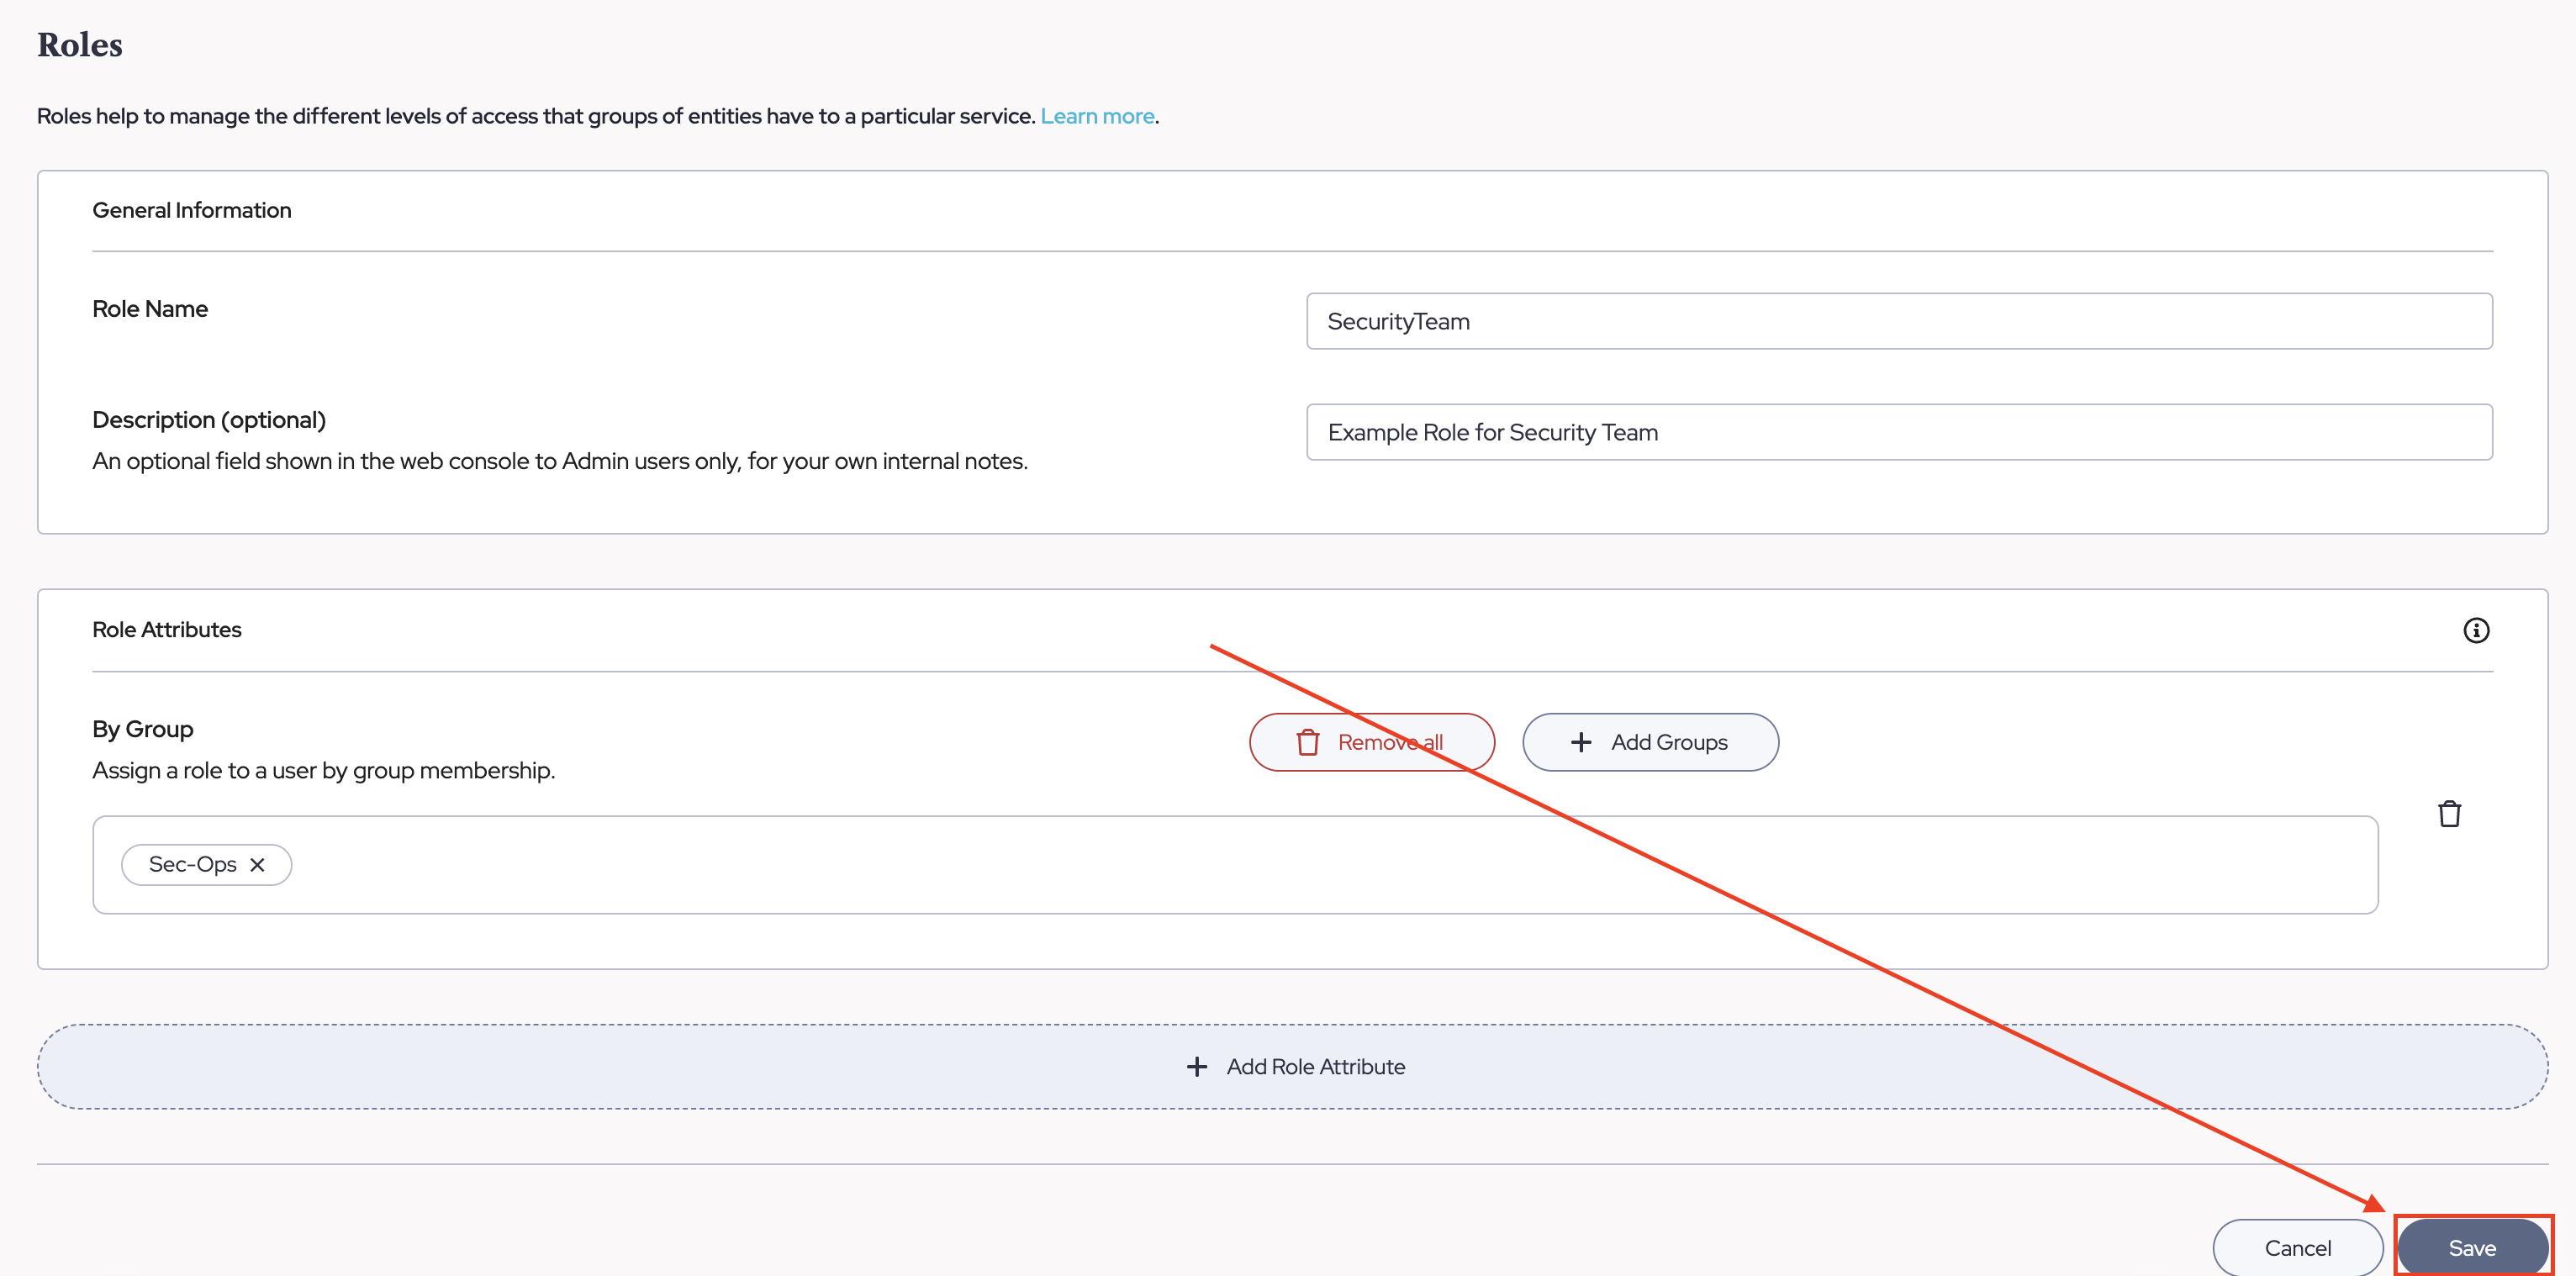
- Then below the "General Information" section, choose "Add Role Attribute" and "By Group".

- Now click the "Add Group" option and choose the desired group for your test user(s). These group names must match what they are called in the Identity Provider and are mapped to the Groups attribute from Part One.
In this example, we are using the Security Team. There may be pre-populated groups in here from Part One as CSE will store groups it has seen. If the group is not present, please manually add it here. NOTE: For Automatic pulling of users and groups using SCIM. Please see the "Related Articles" Section.
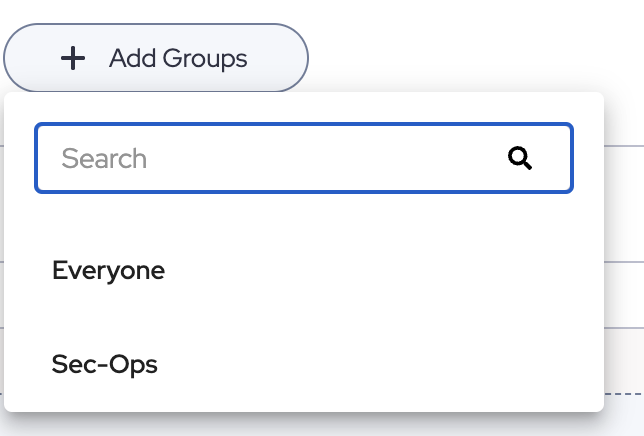
- Finally, be sure to save your role.
Next Steps
In Part Five we will apply the Role to a Policy that we will create. Then in Part Six, we will apply both of these concepts to a working Service Tunnel.
CSE Getting Started: Create A Tunnel Policy
Related Articles
Related Articles
Categories
not finding your answers?
