Generate & Import a SSL certificate (PKCS#12) file for import on an Email Security appliance
Description
This article contains the steps required for generating a PKCS#12 file for import on an Email Security appliance.
Resolution
The first step is to generate a private key which can be done either in Linux or Windows.
Generating a private key in Linux
Access terminal within a Linux box
Type in the following command (or paste) The names of the CSR and privatekey (in italics) can be adjusted accordingly, but the file type needs to remain the same.
openssl req -out my_csr.txt -new -newkey rsa:2048 -nodes -keyout privatekey.txt
Skip to Generating the PKCS#12 file.
Generating a private key in Windows
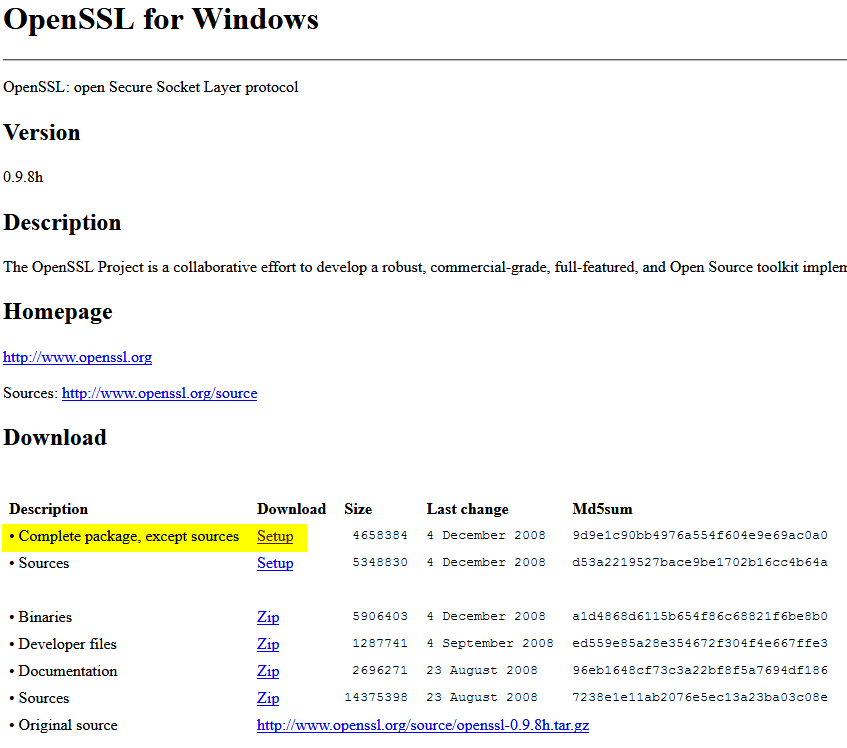
1. Go to http://gnuwin32.sourceforge.net/packages/openssl.htm and download the openssl-0.9.8h-1-setup.exe file.
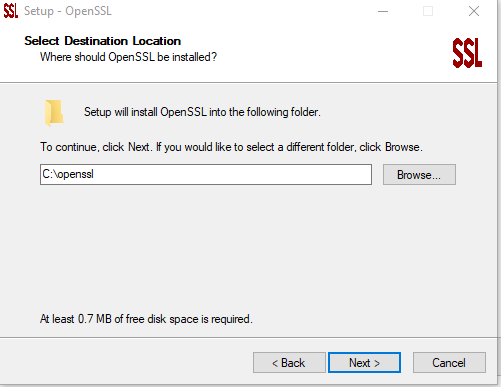
2. Run the .exe and install to c:\openssl
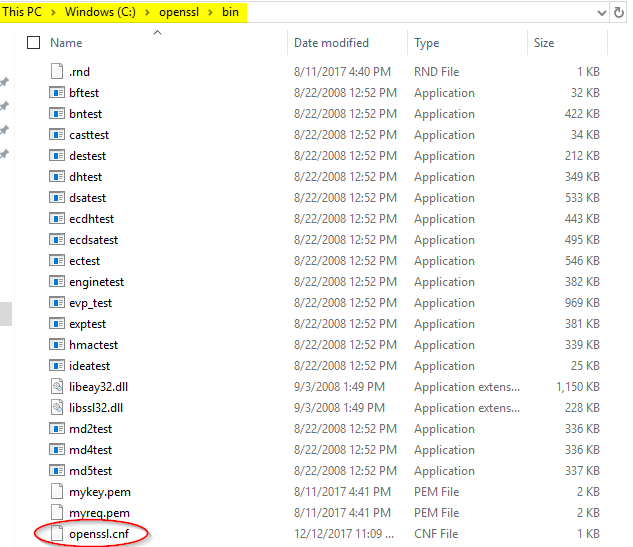
3. After installation completes, copy and paste the following into a text editor and save as openssl.cnf to C:\openssl\bin
 NOTE: Edit the alt_names section to include any SAN names that are needed, no other sections need to be edited at this time
[ req ]
distinguished_name = req_distinguished_name
req_extensions = v3_req
[ req_distinguished_name ]
countryName = Country Name (2 letter code)
countryName_default = US
stateOrProvinceName = State or Province Name (full name)
stateOrProvinceName_default = Arizona
localityName = Locality Name (eg, city)
localityName_default = Phoenix
0.organizationName = Organization Name (eg, company)
0.organizationName_default = Test Bed USA
organizationalUnitName = Organizational Unit Name (eg, section)
organizationalUnitName_default = IT
commonName = Common Name of device
commonName_default = mail.example.com
commonName_max = 64
[ v3_req ]
basicConstraints = CA:FALSE
keyUsage = nonRepudiation, digitalSignature, keyEncipherment
subjectAltName = @alt_names
[alt_names]
DNS.1 = RA1.example.com
DNS.2 = RA2.example.com
DNS.2 = CC1.example.com
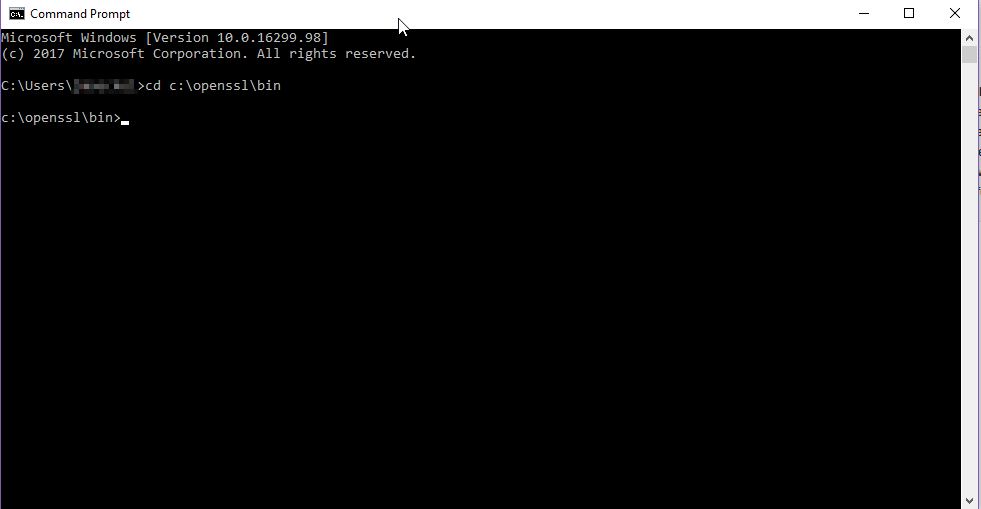
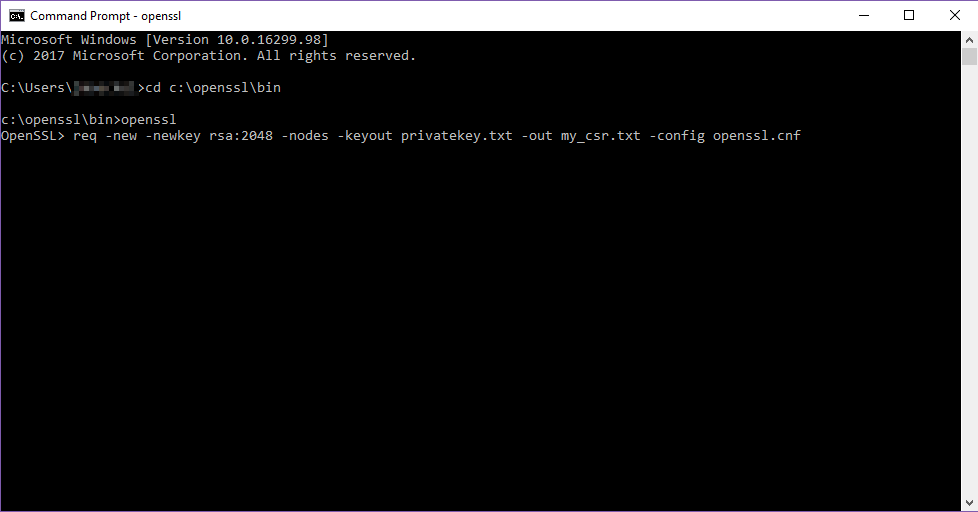
4. Open a command prompt & type or copy/paste cd c:\openssl\bin
5. Type openssl and press Enter, then paste the following command at the next prompt and move on to Generating the PKCS#12 file.
req -new -newkey rsa:2048 -nodes -keyout privatekey.txt -out my_csr.txt -config openssl.cnf
Generating the PKCS#12 file
1. Enter the information appropriate to the organization
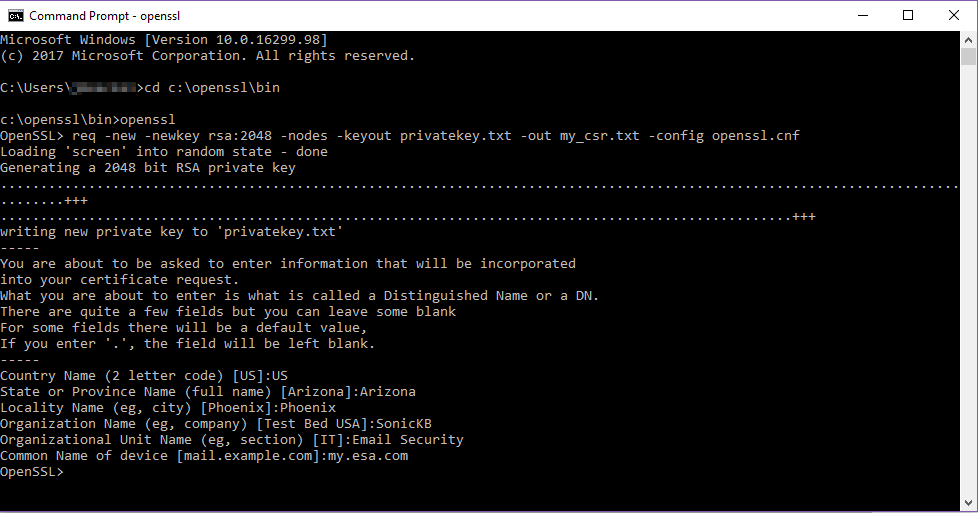
2. Once the information is entered, two files will be created and placed in the C:\openssl\bin directory, my_csr.txt and privatekey.txt. Save them in a secure location.
3. Submit the my_csr.txt file to a Certificate Authority.
4. Download the necessary intermediate and root certificates.
5. From the command prompt, navigate to the openssl application as noted above and type or copy/paste the following to convert to PFX.
openssl pkcs12 -export - certificate.pfx -inkey privatekey.txt - certificate.crt - certfile CACert.crt
 NOTE: Edit the command with the appropriate information: certificate.pfx is the name of the converted certificate, privatekey.txt is the file generated in step 2, certificate.crt is the certificate generated by the CA, CACert.crt are the intermediate certs generated by the CA
6. Alternately, the certificate converter on https://www.sslshopper.com/ssl-converter.html can be used
 CAUTION: Using the converter is not recommended due to exposure of the private key to the internet
Importing the PKCS#12 file to the ES appliance
1. Login into the appliance and navigate to System > Certificates > Generate/Import
2. Choose a certificate name
 TIP: Use the CA followed by the expiration date of the certificate; e.g. Comodo20181212
3. Go to the "Import an existing certificate" option. Choose the PKCS#12 file generated in the previous section, create a passphrase and enter the password for the PKCS#12 file (letters and numbers ONLY).
4. Click Generate/Import
5. Configure the certificate at System > Certificates > Configure
 NOTE: Successful configuration can be tested at http://www.checktls.com/