Creating a license subscription report in GMS 9.3
Description
The report type we will be creating is designed to give a top level view of your firewalls license subscription expiration status within GMS 9.3
Resolution
Creating the report
To begin we will need to log into GMS and go to Console / Reports / Scheduled Reports
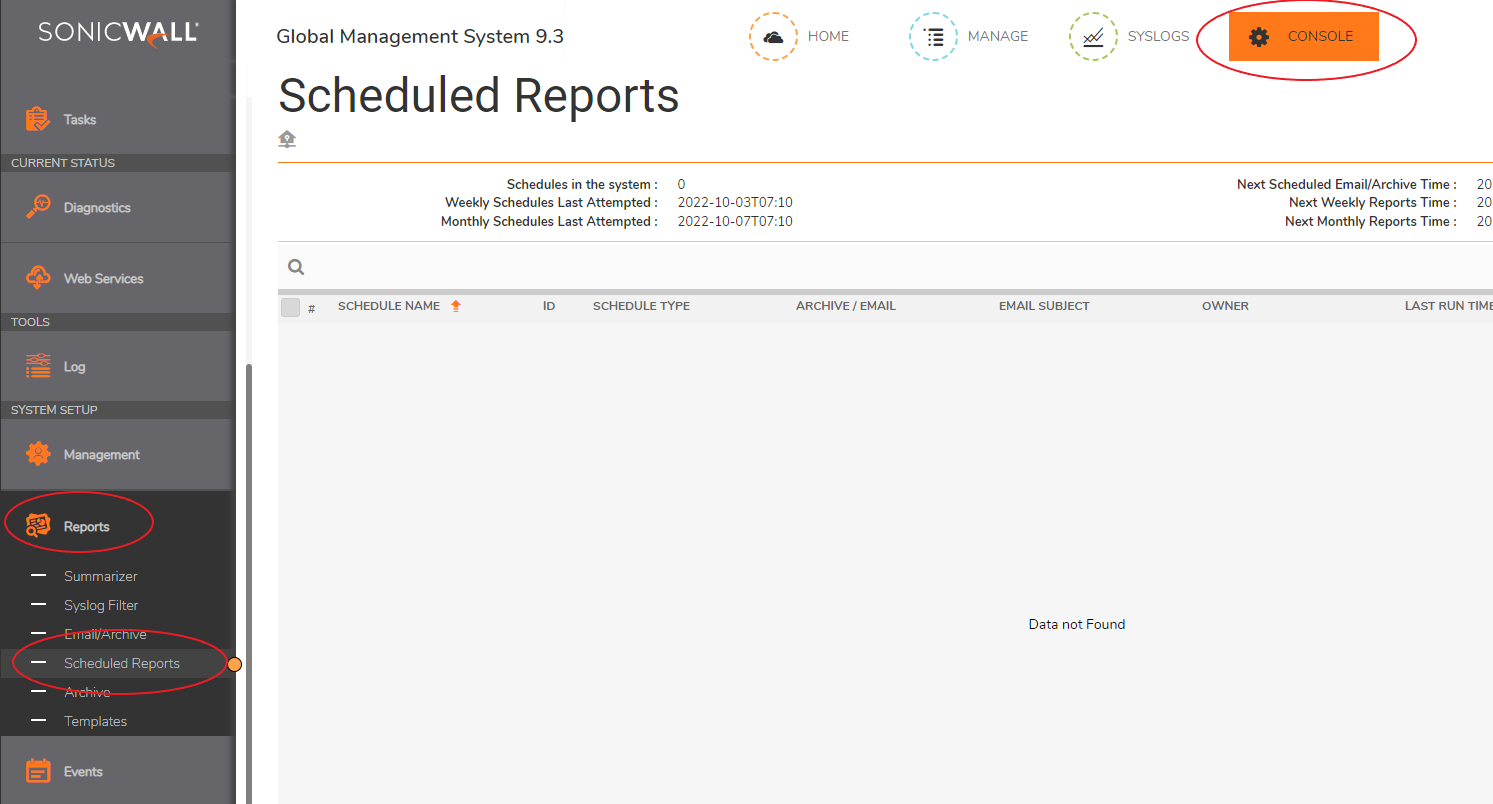
To create a new report, click on the "Plus" Icon on the far right side of the screen.

The "Create Schedule" window will pop open and you will need to select and add the options below.
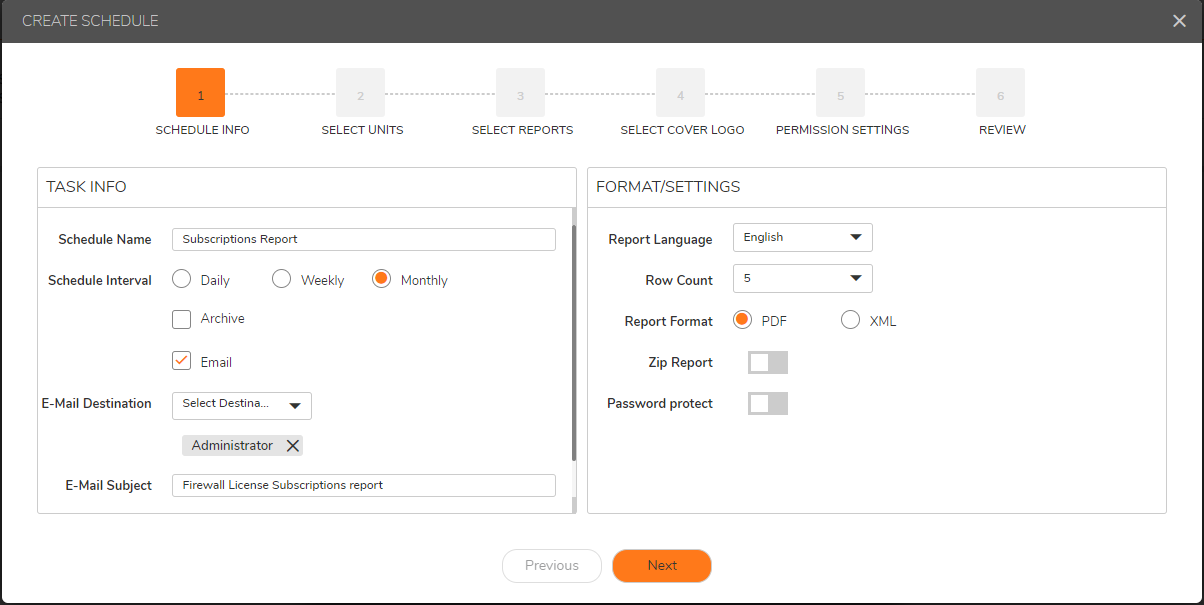
1: SCHEDULE INFO
Give the Scheduled Report a name, select how often this report will run, and if you will email or just archive the report.
If sending the report via email, select the proper email address destination and give the email a subject line.
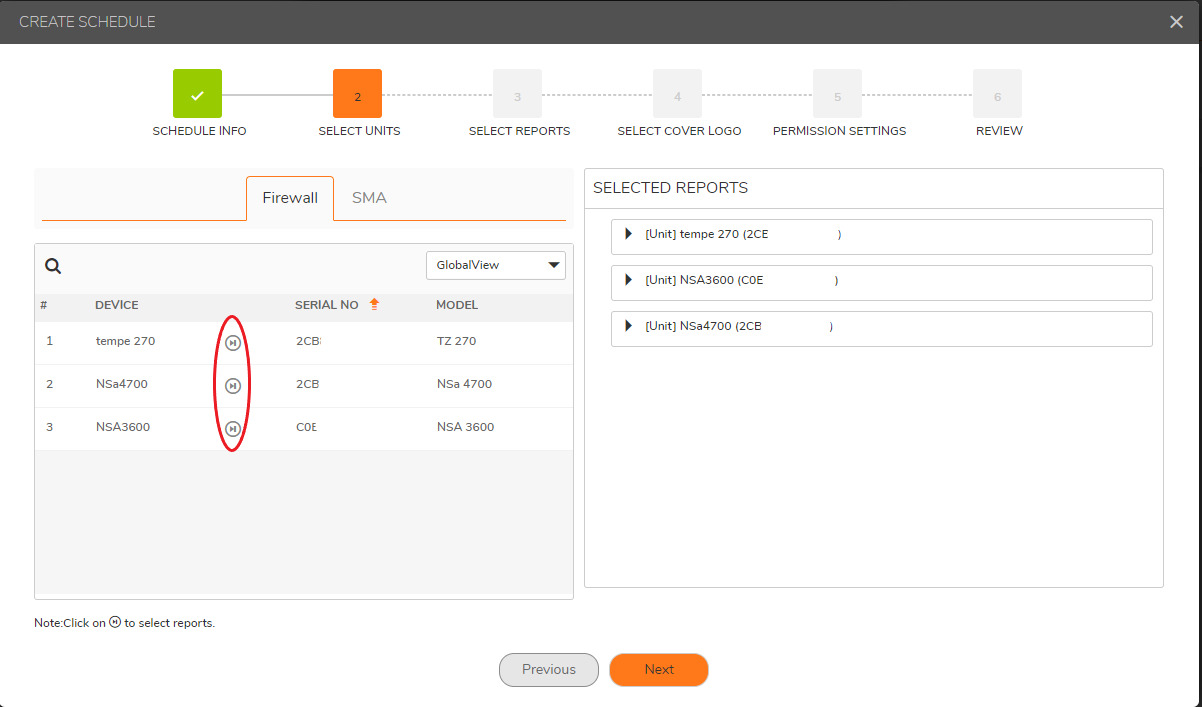
2: SELECT UNITS
To select the units you would like to run the report on, click the "Play" Icon to move the firewall over to the right side panel. You may need to click the "Previous" button on the the bottom of the screen to add more firewalls if doing more than one.
Once you are done selecting the firewalls for this report, click the Next button.
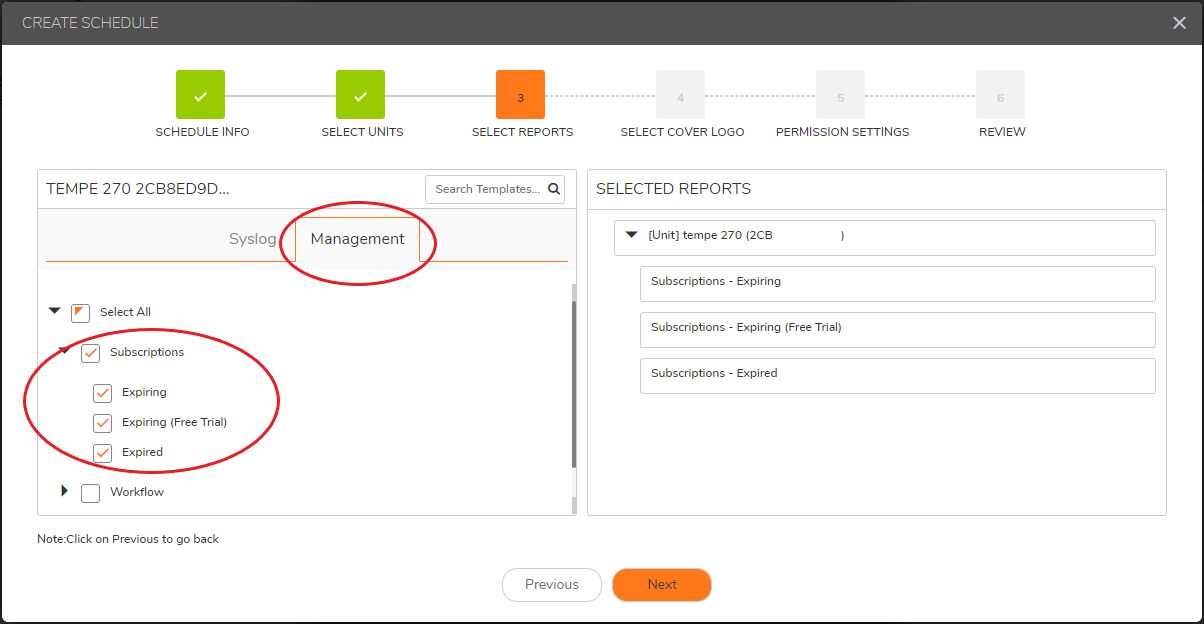
3: SELECT REPORTS
Here it is important to select the Management option tab. This will give you the option to select the license subscription status you are looking to report on.
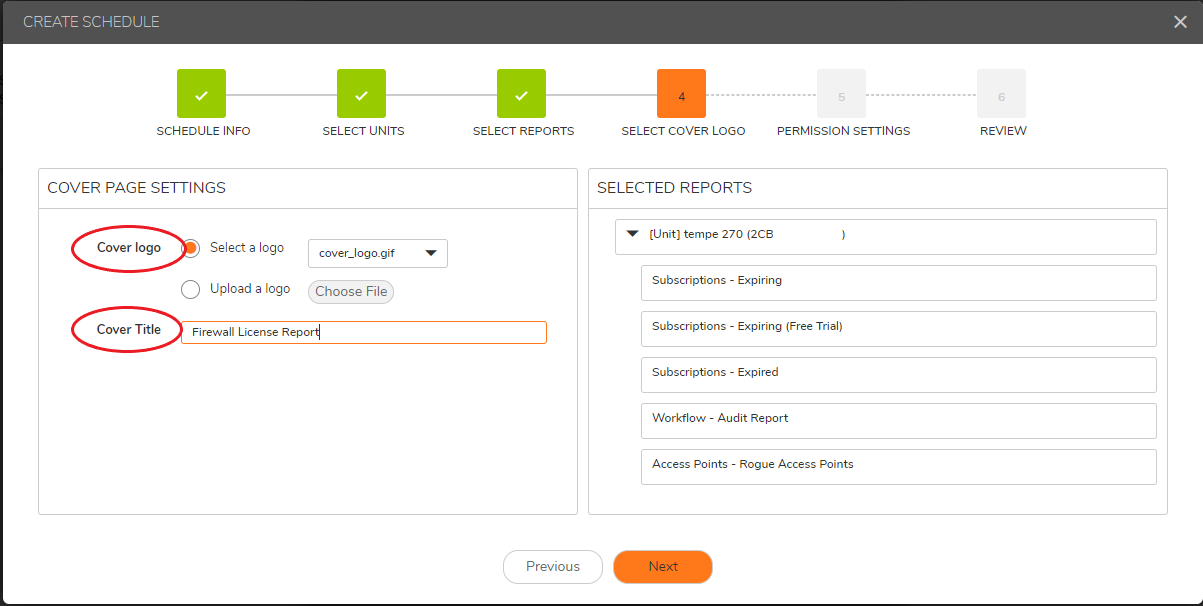
4: SELECT COVER LOGO
On this page you can upload a custom logo or just use the default value. (Note: The Maximum file size, when uploading a cover logo, is 512KB)
You will also give the report a Cover Title that will show on the final report, then click "Next".
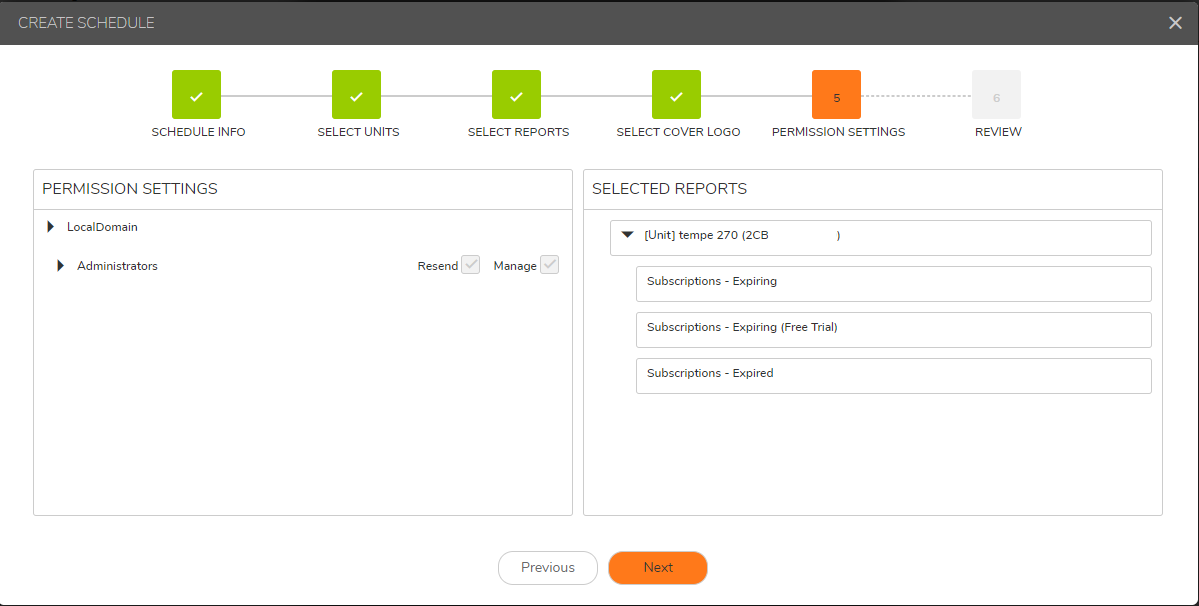
5: PERMISSION SETTINGS
The Permissions settings tab just shows the general Admin Permissions settings and you can click to the next page.
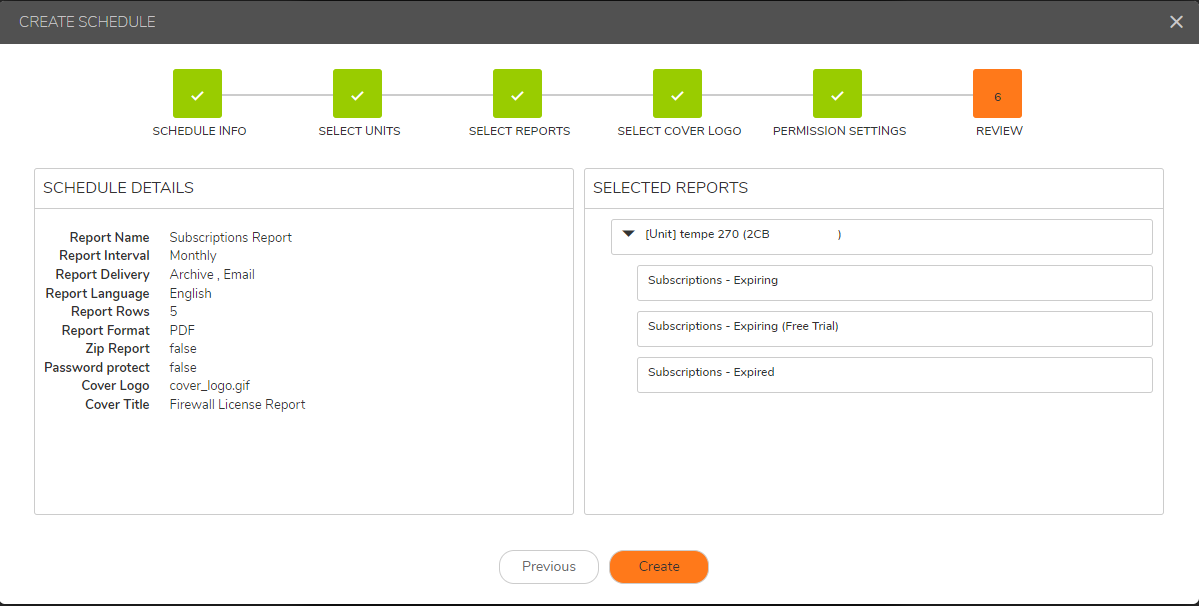
6: REVIEW
Now you can review your settings and click Create to finish the Scheduled report.
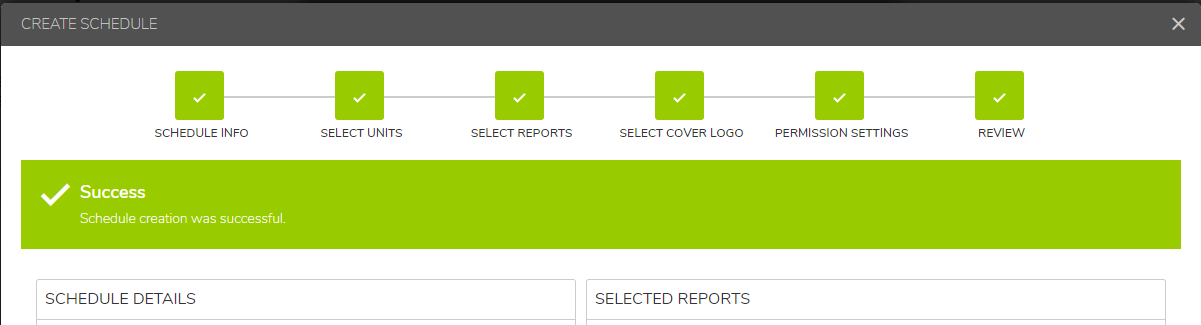
You should see a Green banner indicating a successful creation of your scheduled report.
You should now be able to see your Scheduled report on the Scheduled Reports page.

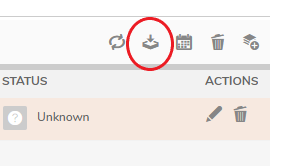
You can test the report by clicking the checkbox on the left then clicking the Archive Now Icon On the top right of the schedule list.
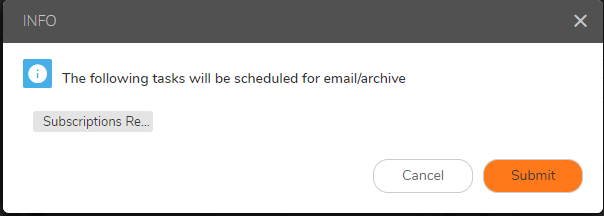
You will get the following prompt to submit the email/archive.
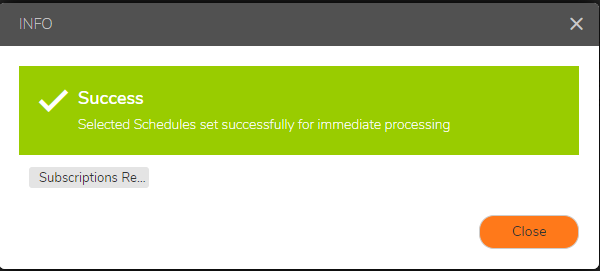
Then a Success message letting you know it will start processing.
If you selected the email option, you should expect to see the report show up in the email account you chose when creating the report.
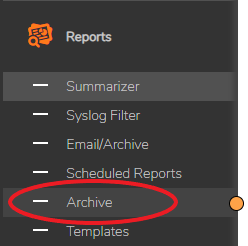
If you selected the Archive option you can go to Console/ Reports/ Archive where you should be able to find your report there.
You will have the ability to download or delete the report under the Actions column on the right.

