-
Products
-
SonicPlatform
SonicPlatform is the cybersecurity platform purpose-built for MSPs, making managing complex security environments among multiple tenants easy and streamlined.
Discover More
-
-
Solutions
-
Federal
Protect Federal Agencies and Networks with scalable, purpose-built cybersecurity solutions
Learn MoreFederalProtect Federal Agencies and Networks with scalable, purpose-built cybersecurity solutions
Learn More - Industries
- Use Cases
-
-
Partners
-
Partner Portal
Access to deal registration, MDF, sales and marketing tools, training and more
Learn MorePartner PortalAccess to deal registration, MDF, sales and marketing tools, training and more
Learn More - SonicWall Partners
- Partner Resources
-
-
Support
-
Support Portal
Find answers to your questions by searching across our knowledge base, community, technical documentation and video tutorials
Learn MoreSupport PortalFind answers to your questions by searching across our knowledge base, community, technical documentation and video tutorials
Learn More - Support
- Resources
- Capture Labs
-
- Company
- Contact Us
How to license and install Syslog Analytics


Description
This article covers how to license and install Syslog Analytics
Resolution
How to obtain license and download the OVA
- Login to https://www.MySonicWall.com account
- Select your firewall unit under Product Management|My Products and click on the Licenses icon

- Click on either Buy (purchase the license), Try(30 day trial license), or Activate (apply license key if obtained from prior purchase)

Once we license the Syslog Analytics by entering Key and/or Enabling Trial, it will provide us option to create New Tenant or Existing Tenant. Selecting New Tenant will create Syslog Analytics serial which we need to use while registering the Syslog Analytics. Select Existing Tenant if Syslogs Analytics serial is already been created and this is second firewall which we need to associate with Syslog Analytics.
 NOTE: If this option is not availalable we can navigate to Product Details | TO-DO List to complete Syslog Analytics Association.
 - Firewall is now licensed for Syslog Analytics and we can register Syslog Analytics using new Serial or existing serial generated in above step.

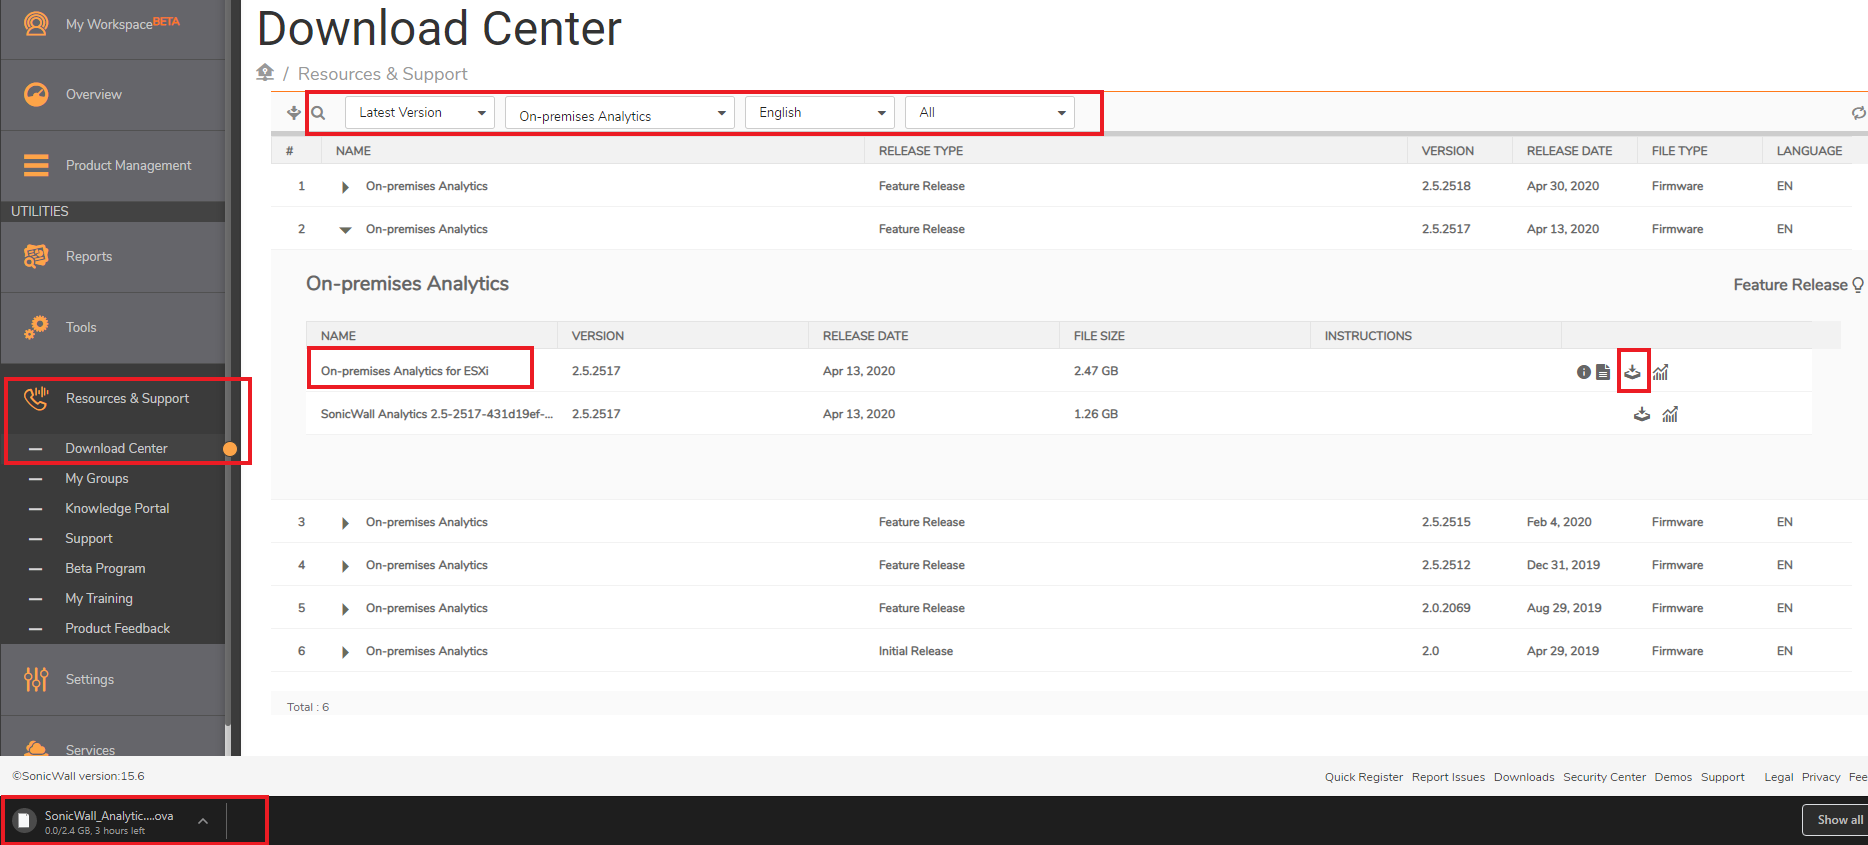
- Download the OVA file under Resources & Support|Download Center, select On-premises Analytics in search options,click download on latest for ESXi
Installing with VMware ESXi
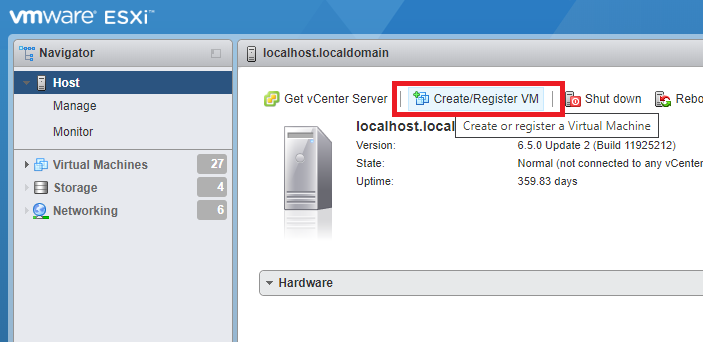
- Login to VMware and click Create/Register VM
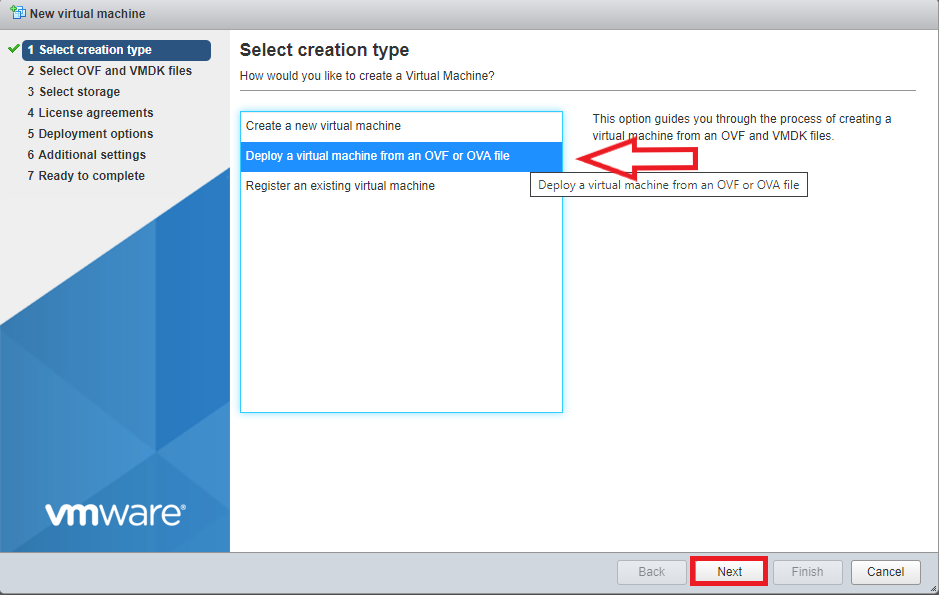
- Select Deploy a virtual machine from an OVF or OVA file and click Next
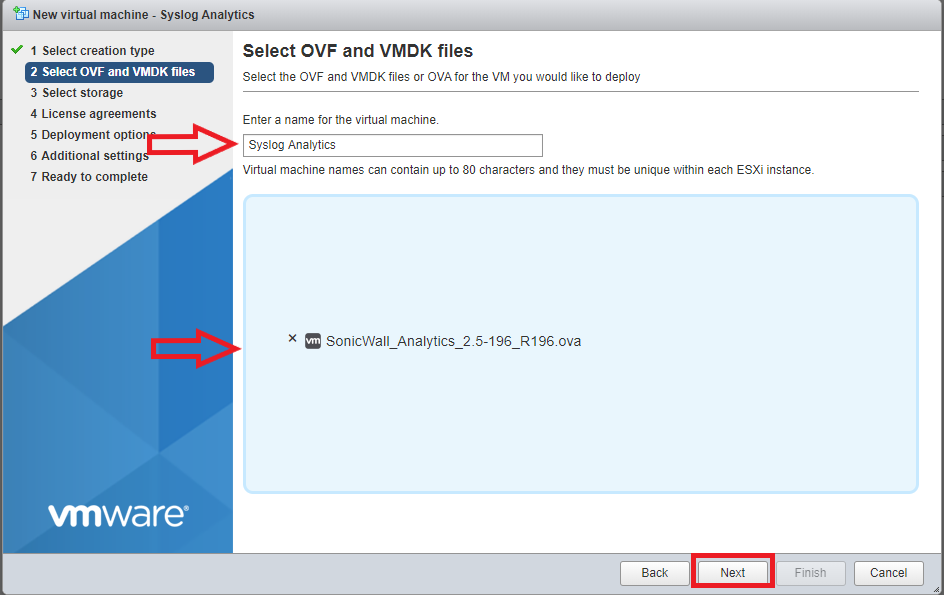
- Enter server name, select the OVA file and click Next
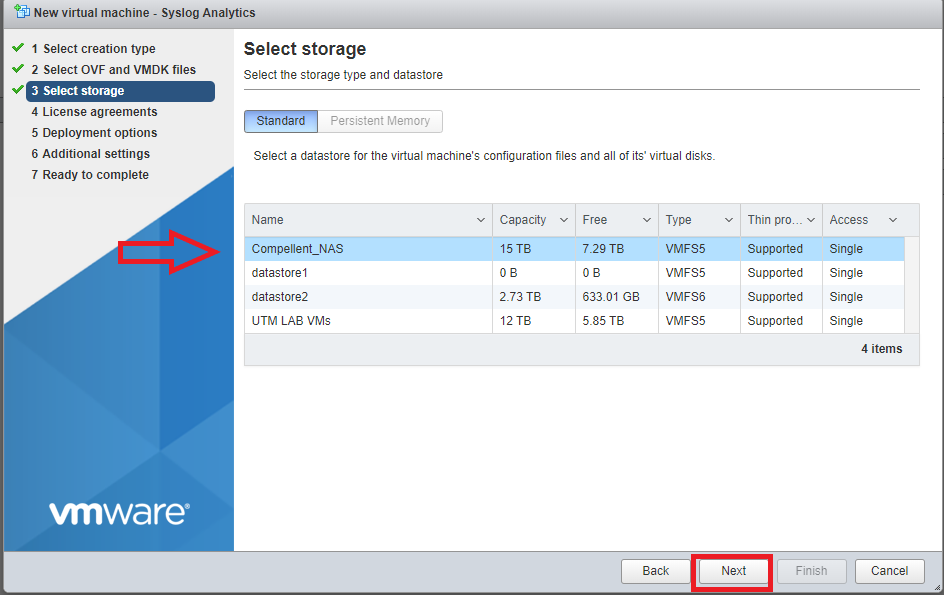
- Select the storage type/datastore which to store the files for the Syslog Analytics and click Next
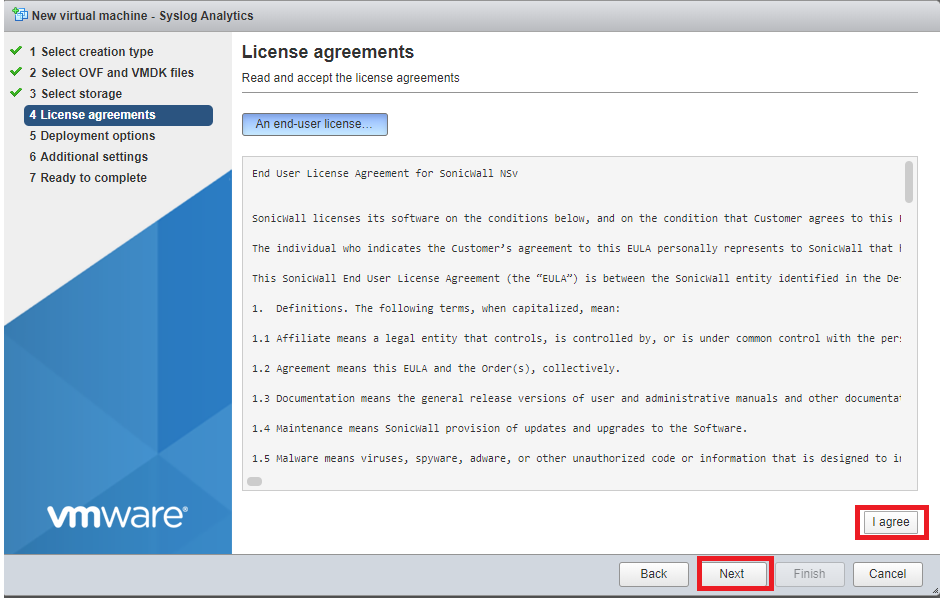
- Click I agree for the license agreements after reading and then click Next
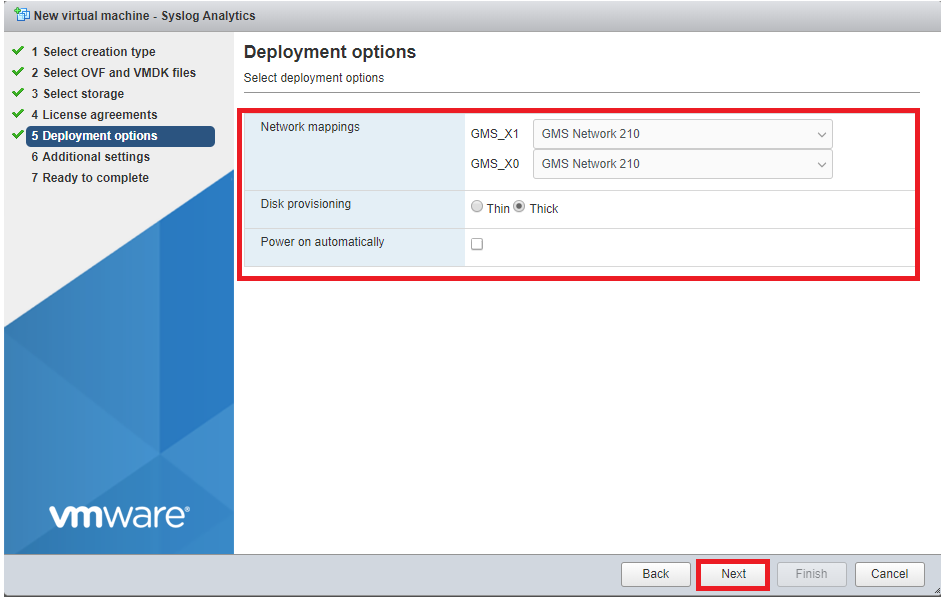
- In the Network mapping select the networks in your inventory to be used for the Syslog Analytics, Thin or Thick provisioned format, and Uncheck the power on automatically (that way you can edit the server specs prior to booting)
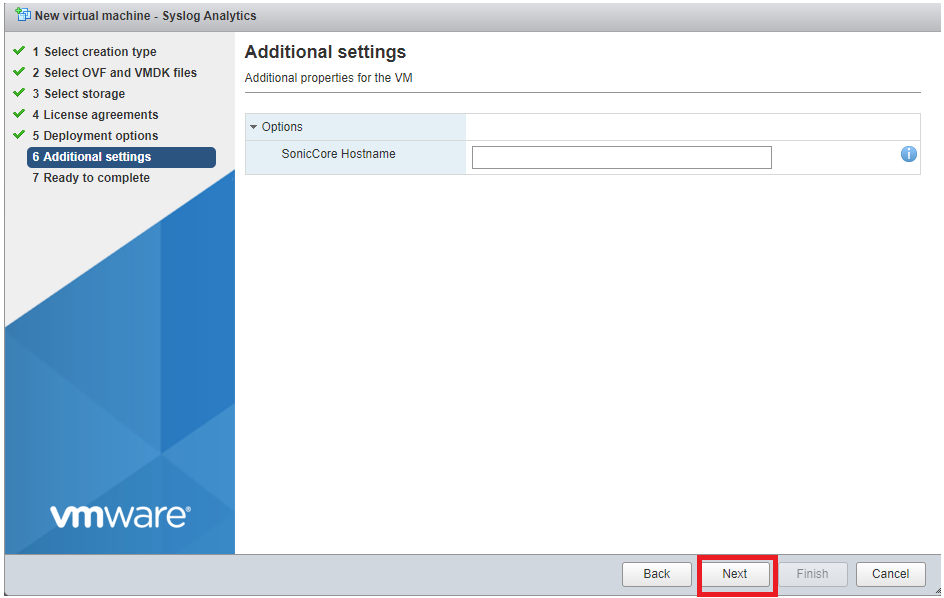
- Enter optional SonicCore Hostname and click Next
- Verify selected options and click Finish to start the OVA deployment
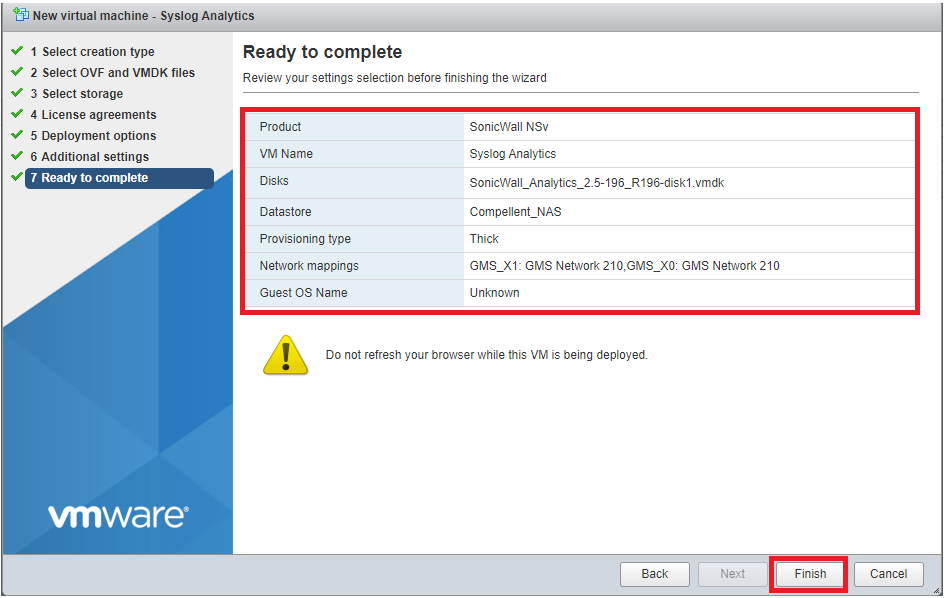
- Monitor the progress till it is complete

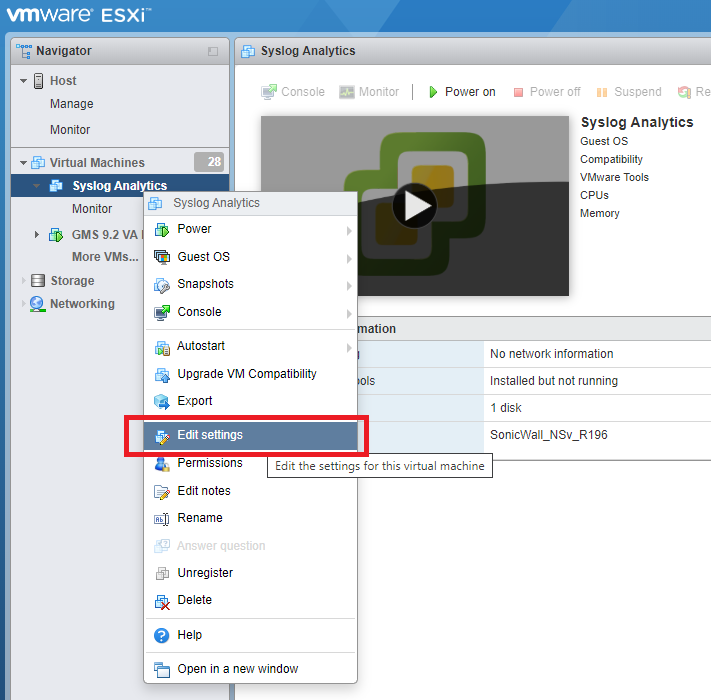
- After completed, right click on the new VM and select Edit settings
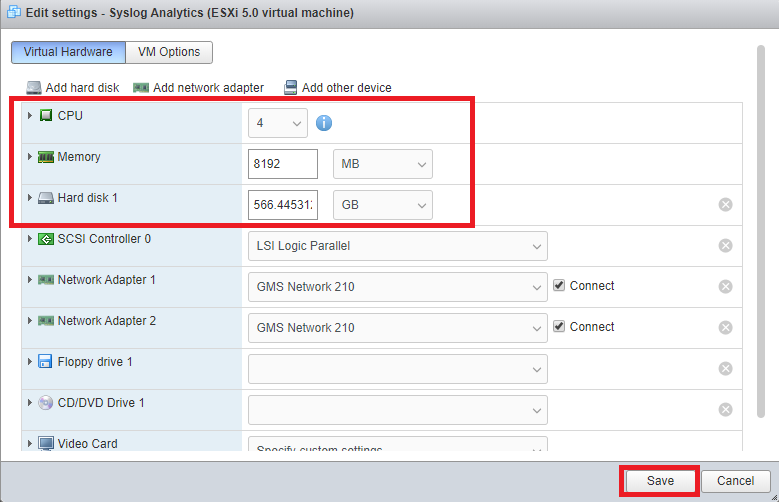
- Increase CPU/Memory/Hard Disk accordingly based on your licensing and Firewall types/quantity of units (recommend minimum 16GB Memory , 4CPUs(2.4 GHz processor), and 500GB of storage) and click Save
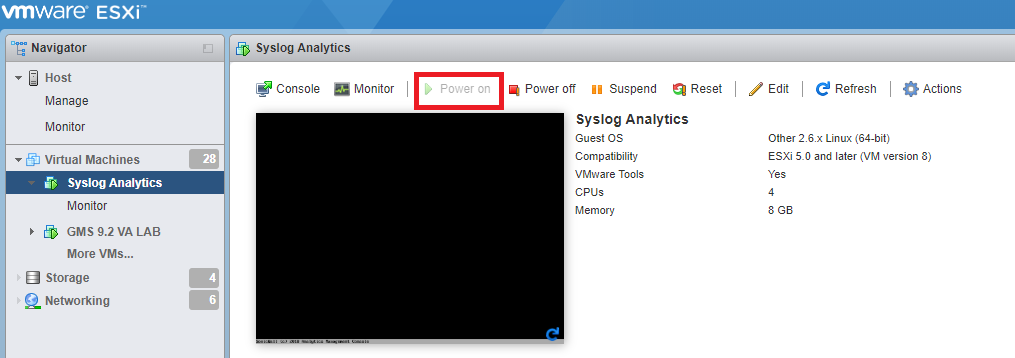
- Click Power on to boot the server, it may take 5-10 minutes before completed
Configuring Host Settings on the Console
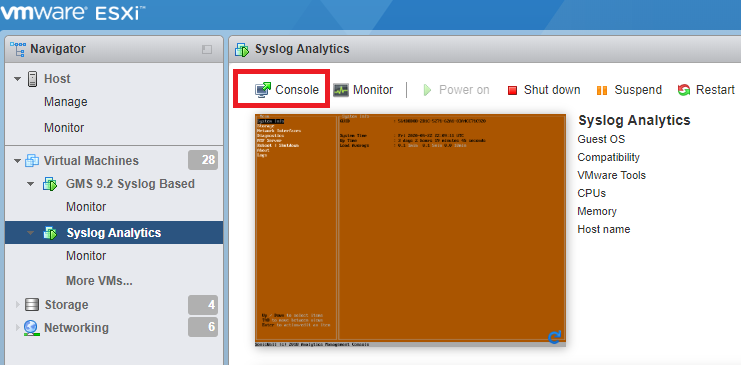
After powering on the Syslog Analytics Appliance, perform the following steps to open the console and configure the IP address and default route settings.
- Select the VM and click on Console option
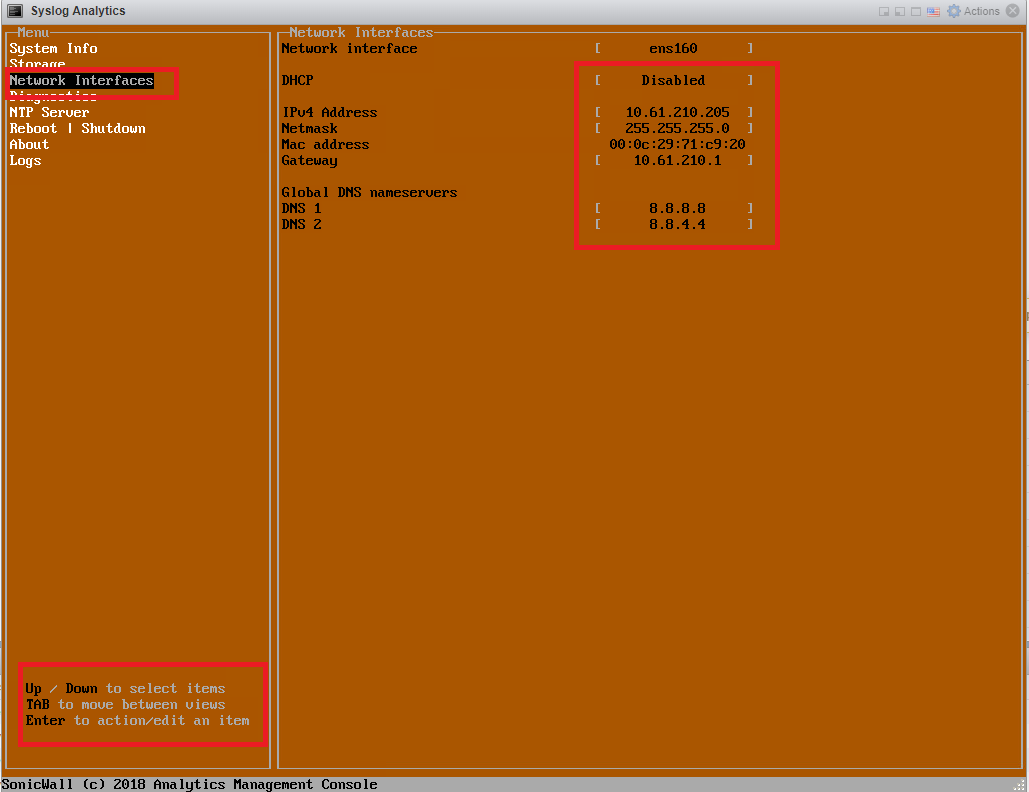
- Using the Up/Down Left/Right arrows on the keyboard, select Network Interfaces and press enter on the keyboard to modify a any of the network settings. Make sure to save when finished
Logging into the Syslog Analytics and deployment using Wizard Guide
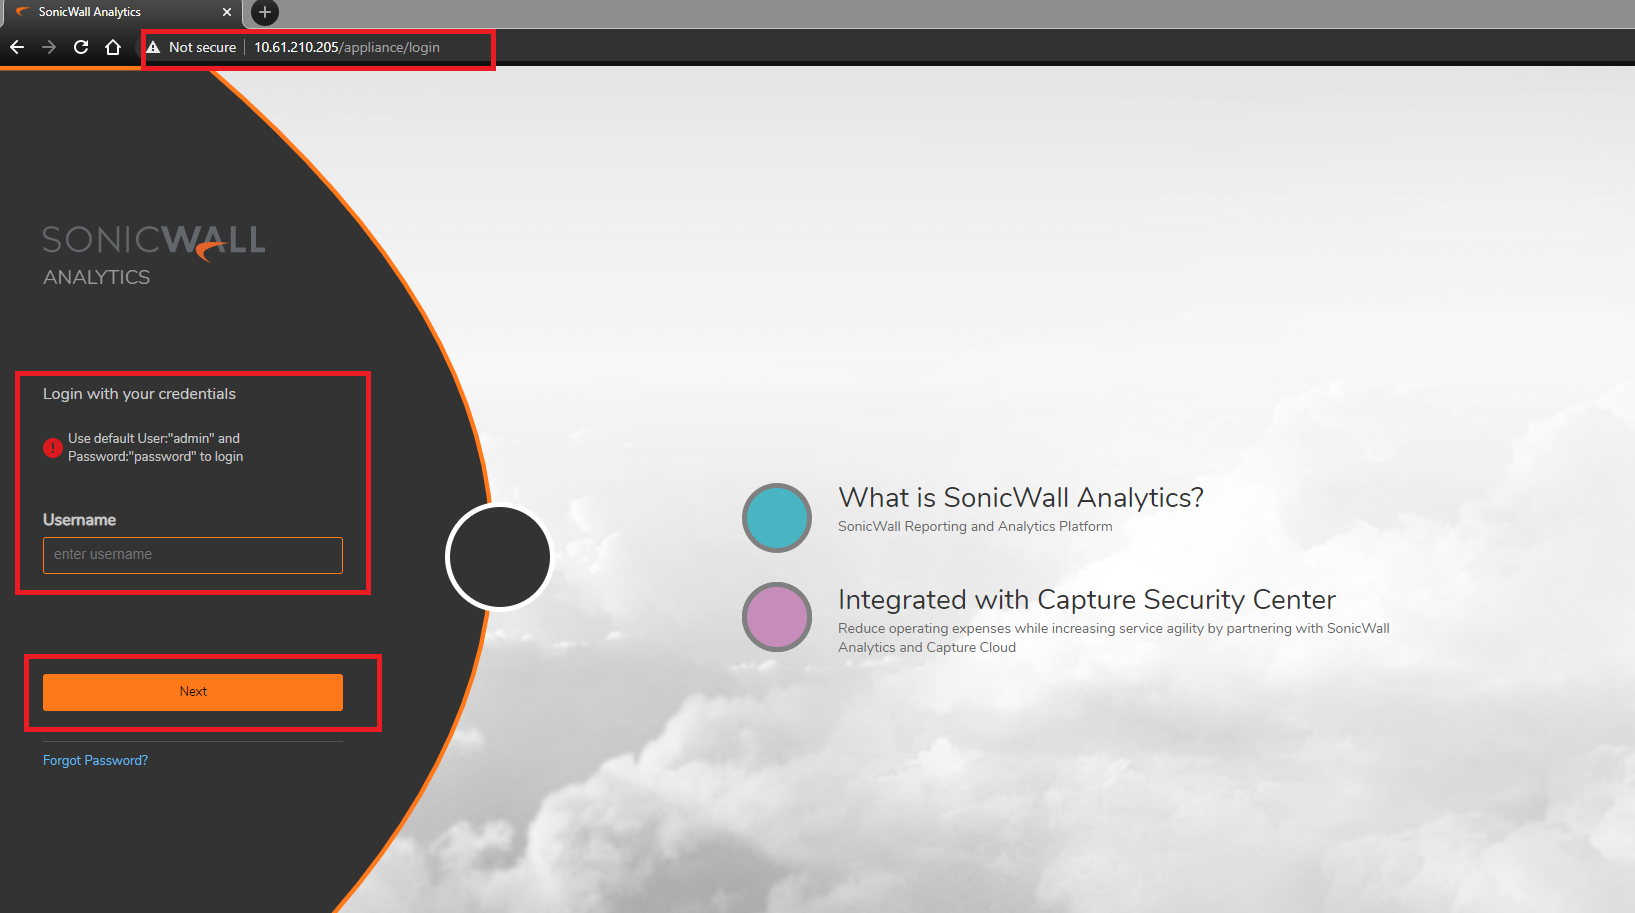
- Enter the server IP in URL to access the Web GUI to login to the Syslog Analytics system interface. The default credentials are admin/password
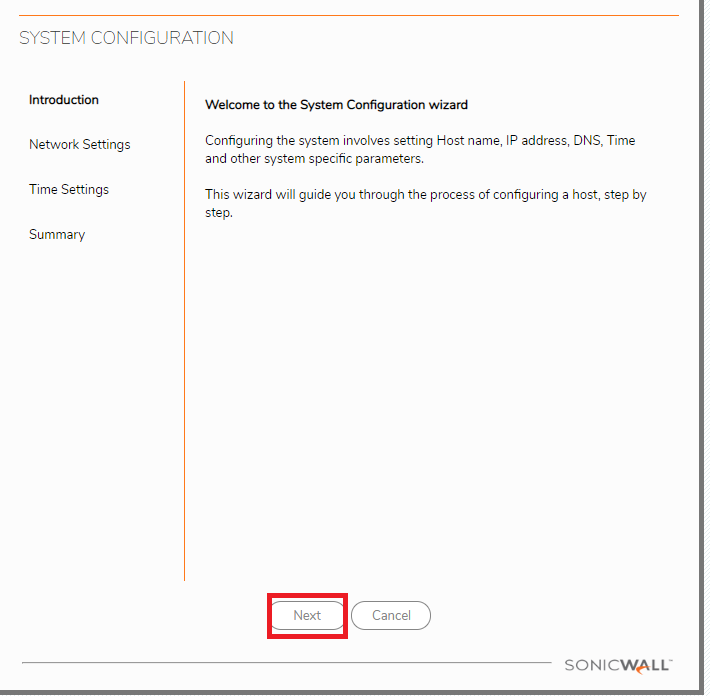
- The System Configuration Wizard will pop-up, click Next and confirm the Network Settings/Time Settings are correct
- Click Apply and the system will prompt to reboot, click okay and wait for reboot to finish


- After Restart is finished, login to Syslog Analytics System Interface
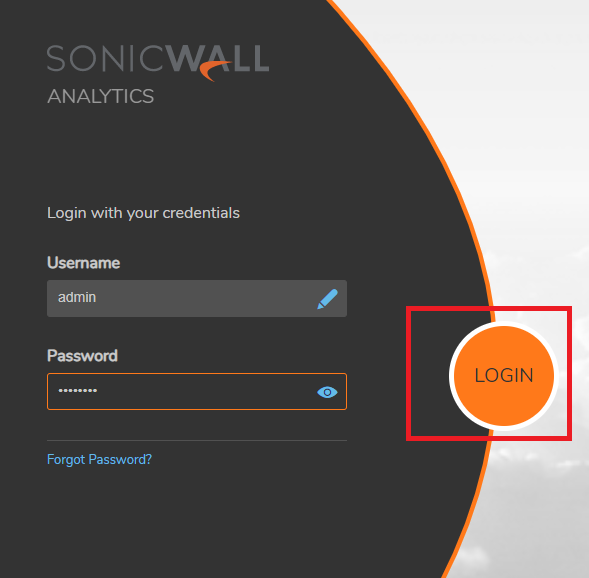
- After logging in, the Analytics install Wizard will pop-up. Click Next and select Syslog based for the reporting type , then click Next
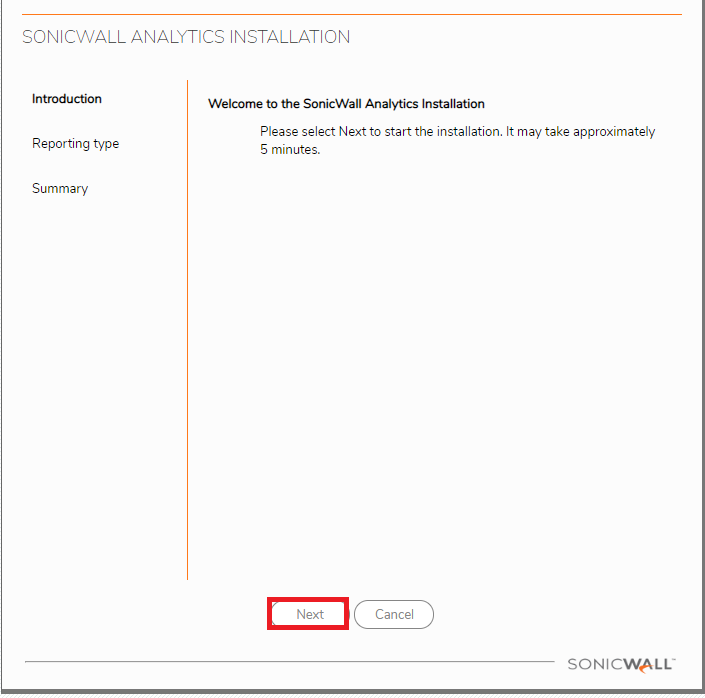

Click Apply and then wait till it finishes applying the new settings, then click finish and the system will reboot


Registering the Syslog Analytics and changing the default admin credentials
- Login to the Syslog Analytics System Interface
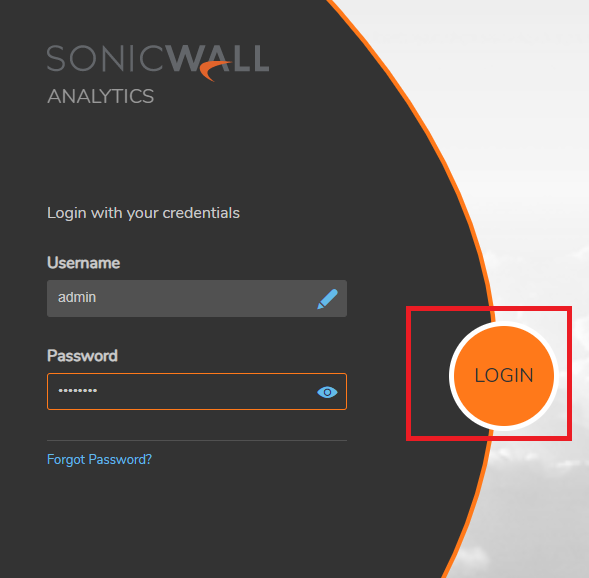
- Navigate to System|Licenses and enter the MySonicWall username/email that the Syslog Analytics is registered and enter the credentials of that account. Then click Login

- Now enter the Syslog Analytics Serial Number/Authentication Code(can get it from MySonicWall account under Product Management|My Products|select product details ), and Friendly Name (can be anything). Click Submit
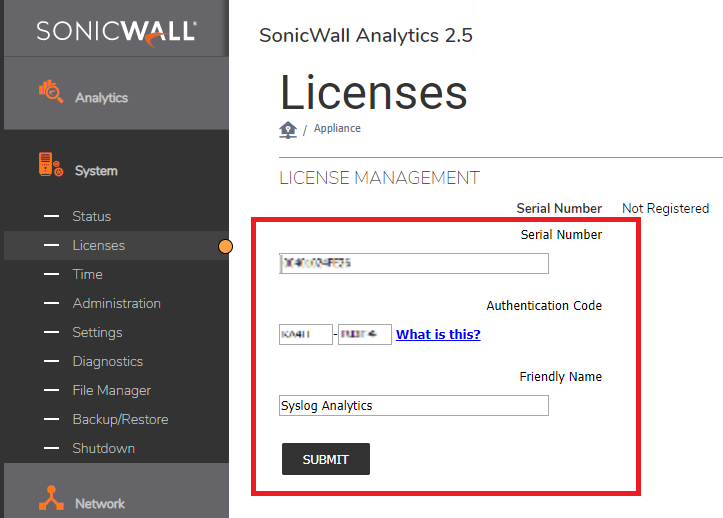
- You will now see the License info, you may need to click Refresh to sync the correct info

- Navigate to System|Administration to change the System Interface admin credentials. Enter current password, new password and click Update

Adding SonicWall Appliances to the Syslog Analytics
- Login on the Application Interface ( /sgms ) using default admin/password credentials

- Click on the '+' icon in the upper left corner of the tree control panel and you will get the Add Firewall pop-up. Enter the Firewall Name (can be anything), the Serial Number, and the Model. Then click OK


- Now login to the Firewall and navigate to Manage|Log Settings|SYSLOG and click ADD. On the pop-up create a new address object for the Syslog Analytics server and then click OK


- Can now see the Syslog server is added to the Firewall and should begin to have Syslogs sent to the Analytics server

- Navigate to Manage|Log Settings|Base Setup and click Import Template. Select the Analyzer/Viewpoint/GMS Template option and click Accept (this will make sure logging levels are set correctly for the firewall to send data to the Analytics)


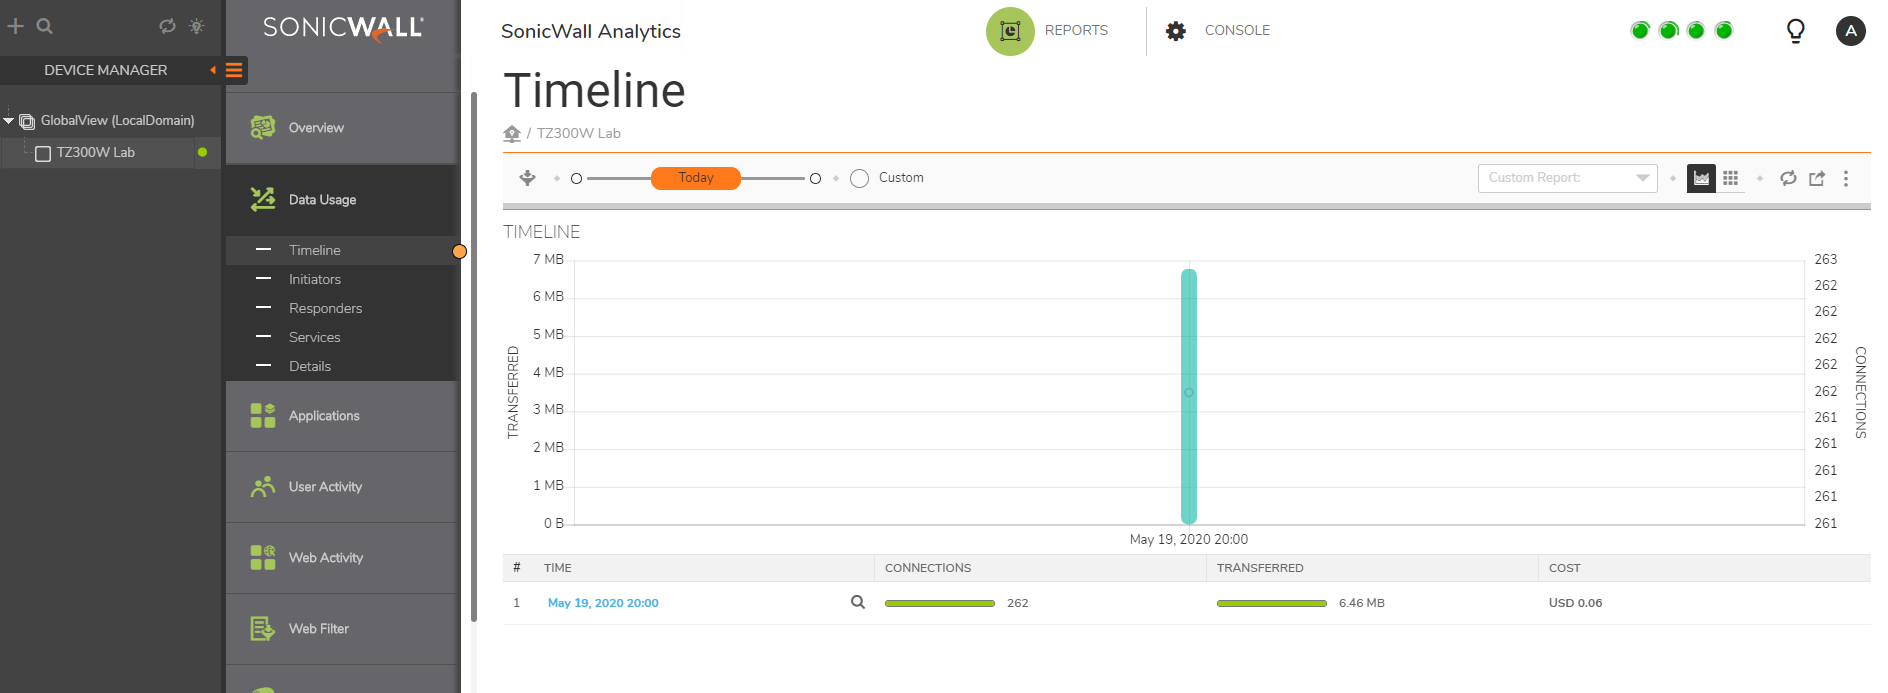
- Return now back to the Syslog Analytics to confirm the unit added shows status as 'Up" and confirm that there is reporting data

Related Articles
- Creating a license subscription report in GMS 9.3
- How to create SSLVPN login reports with Syslog GMS/Analytics
- Can I review, accept and deny the GMS changes before pushing to firewalls with workflow license?


 YES
YES NO
NO